User Accounts
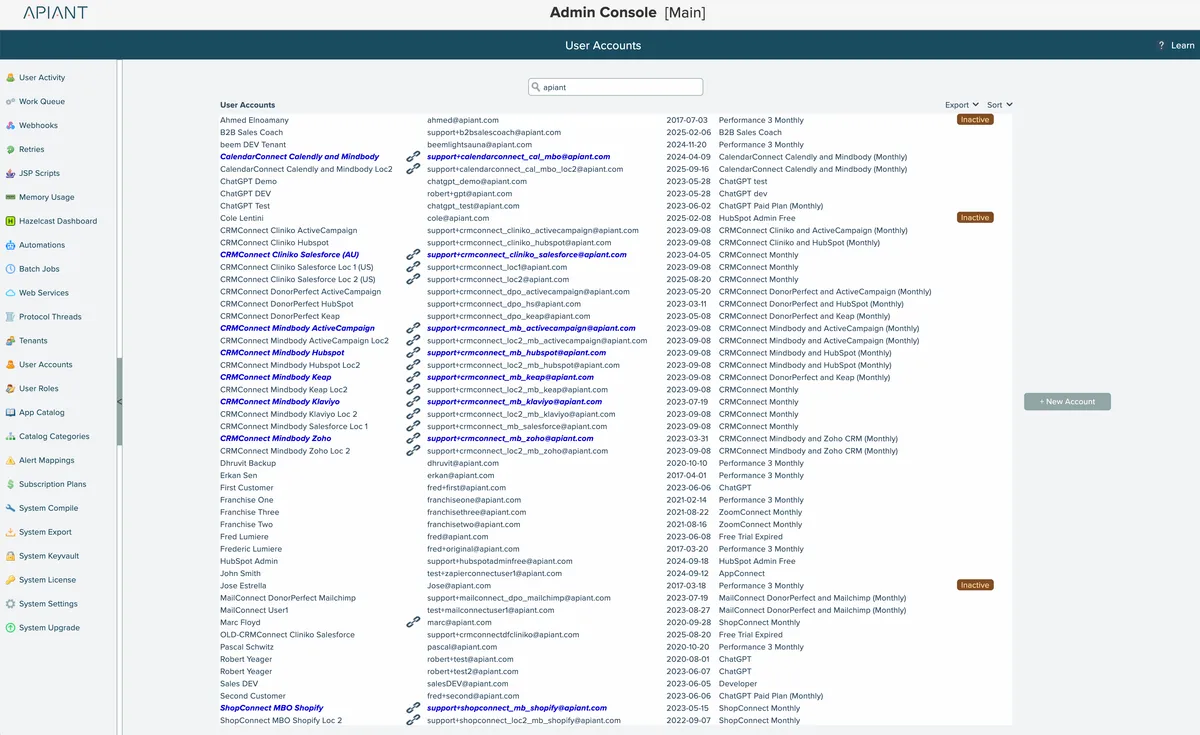
The User Accounts screen manages all user accounts in the system:
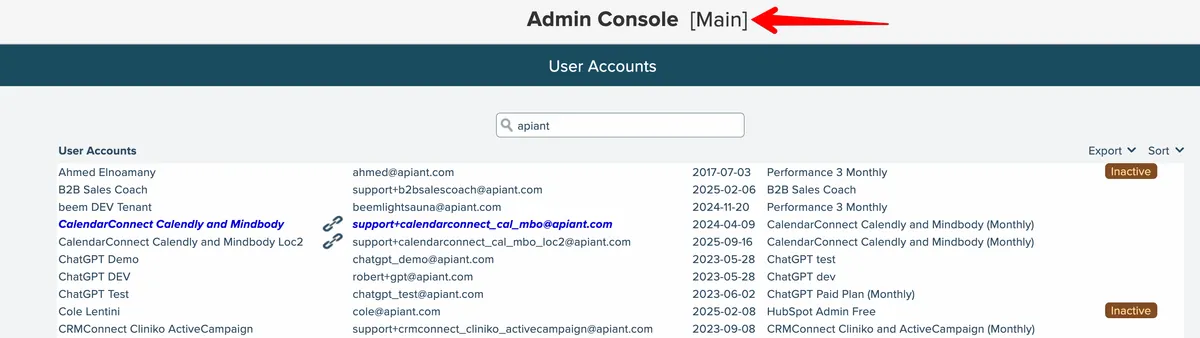
If the system has multiple tenants, click the tenant name at the top to select a tenant whose accounts to view:
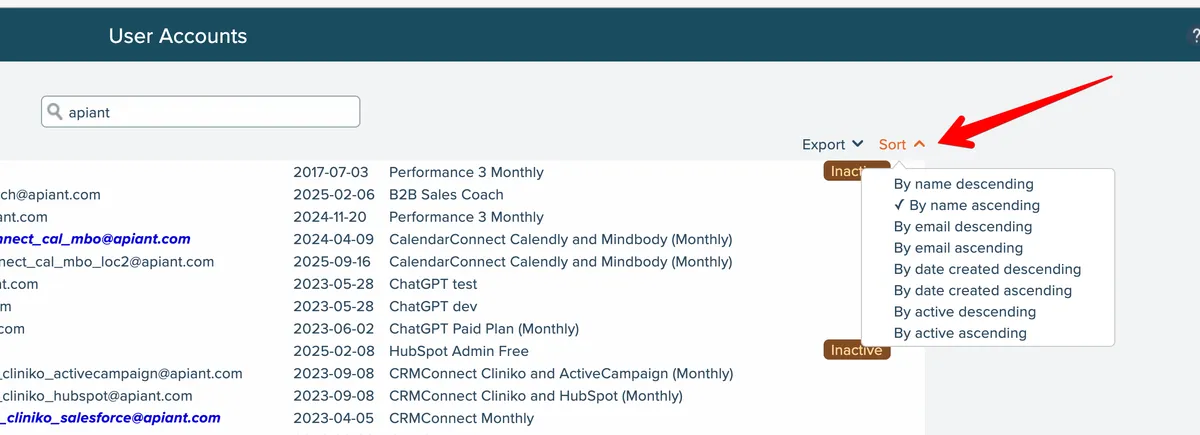
The user accounts list can be sorted in different manners via the sort selection at its top right:
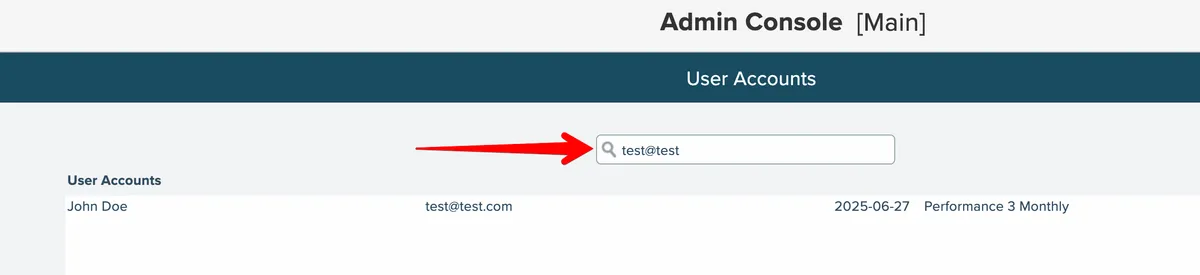
Accounts can be searched by name or by email:
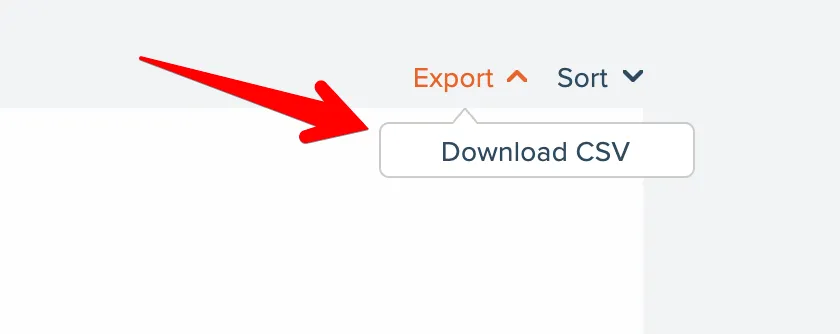
The list of accounts can be exported as a CSV via the Export menu at the top right:
Create Account
New accounts can be added by clicking the New Account button:

View Change Log
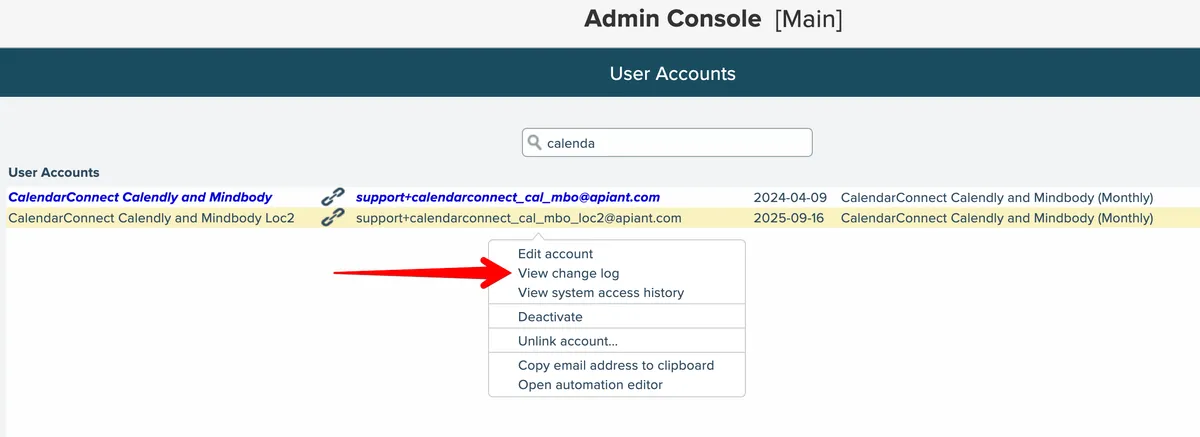
Important account changes are logged by the system. To view an account's change log, select the account and choose the "View change log" menu option:
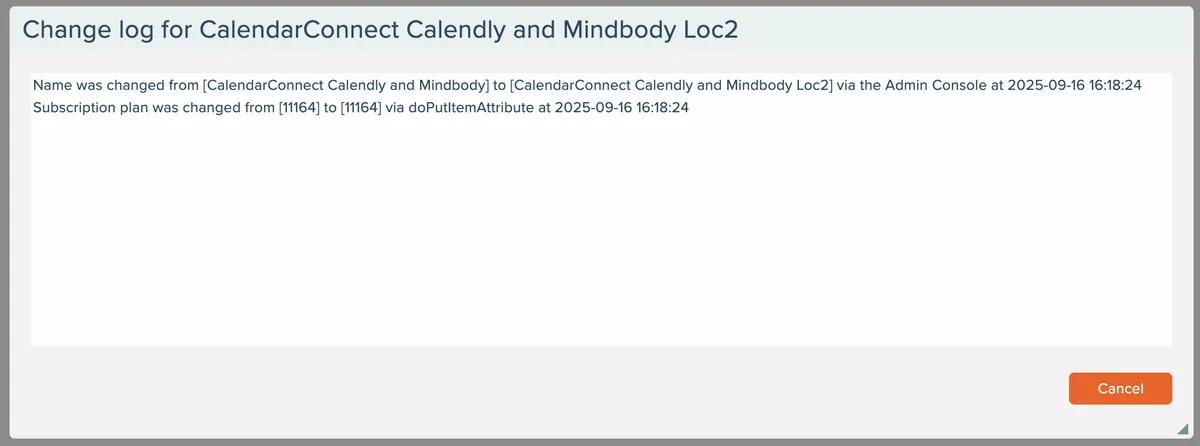
The log will show when changes were made and by whom (or what, in case of automations):
View Access History
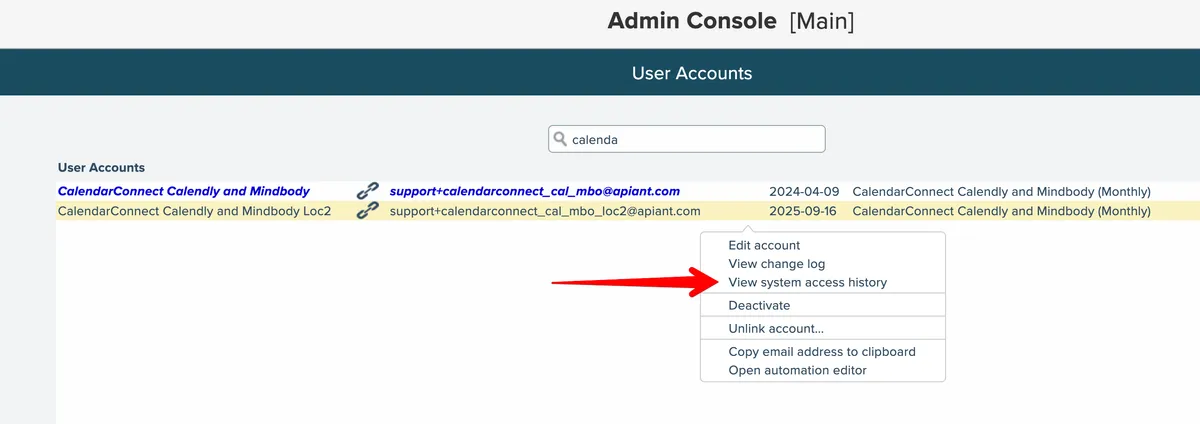
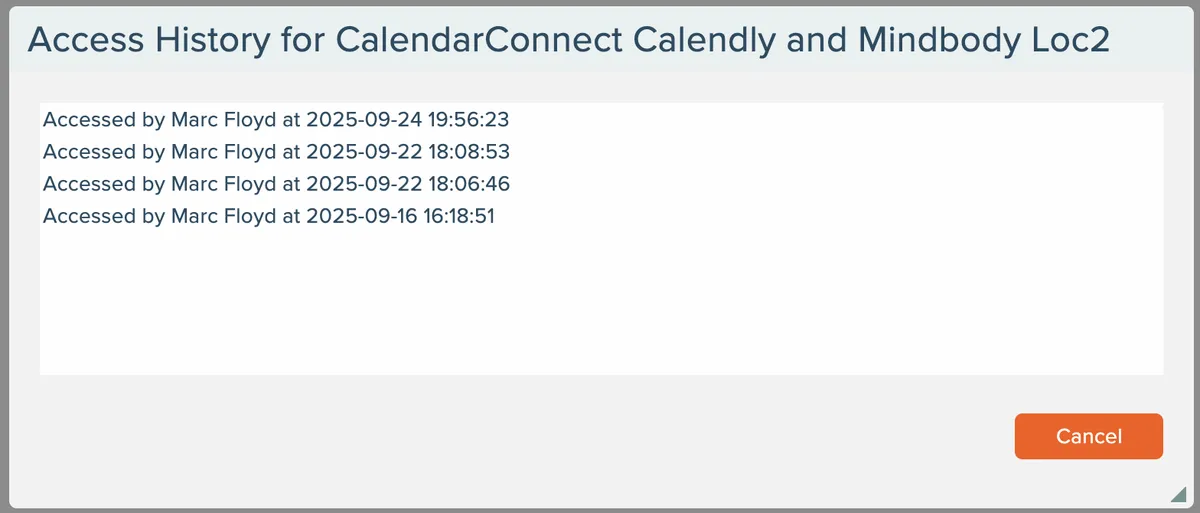
The system records access to the system by the account. To view an account's access history, select the account and choose the "View system access history" menu option:
The account's access history log will appear. If a support person accessed the account via "switch account" functionality, the support person's name will be shown.
Linked Accounts
Linked accounts can be created in the system such that one parent account can be linked to one or more child accounts.
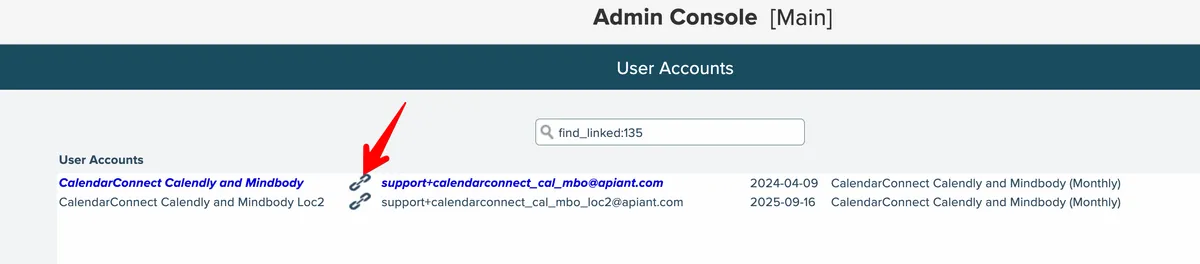
Linked parent accounts are highlighted in blue in the list and have a link icon next to them:

Linked child accounts only have the link icon next to them.
Click the link icon on any account to show just the parent account and all of its linked child accounts:
Create New Parent-Child Link
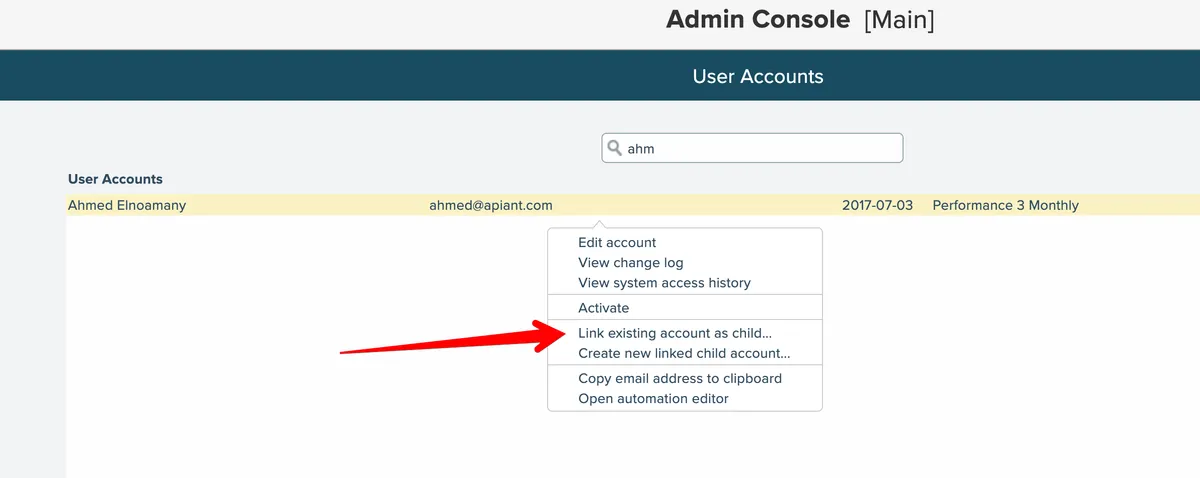
To link two existing accounts in a parent-child relationship, first select the account in the list that is to be the parent account, then click the "Link existing account as child" menu option:
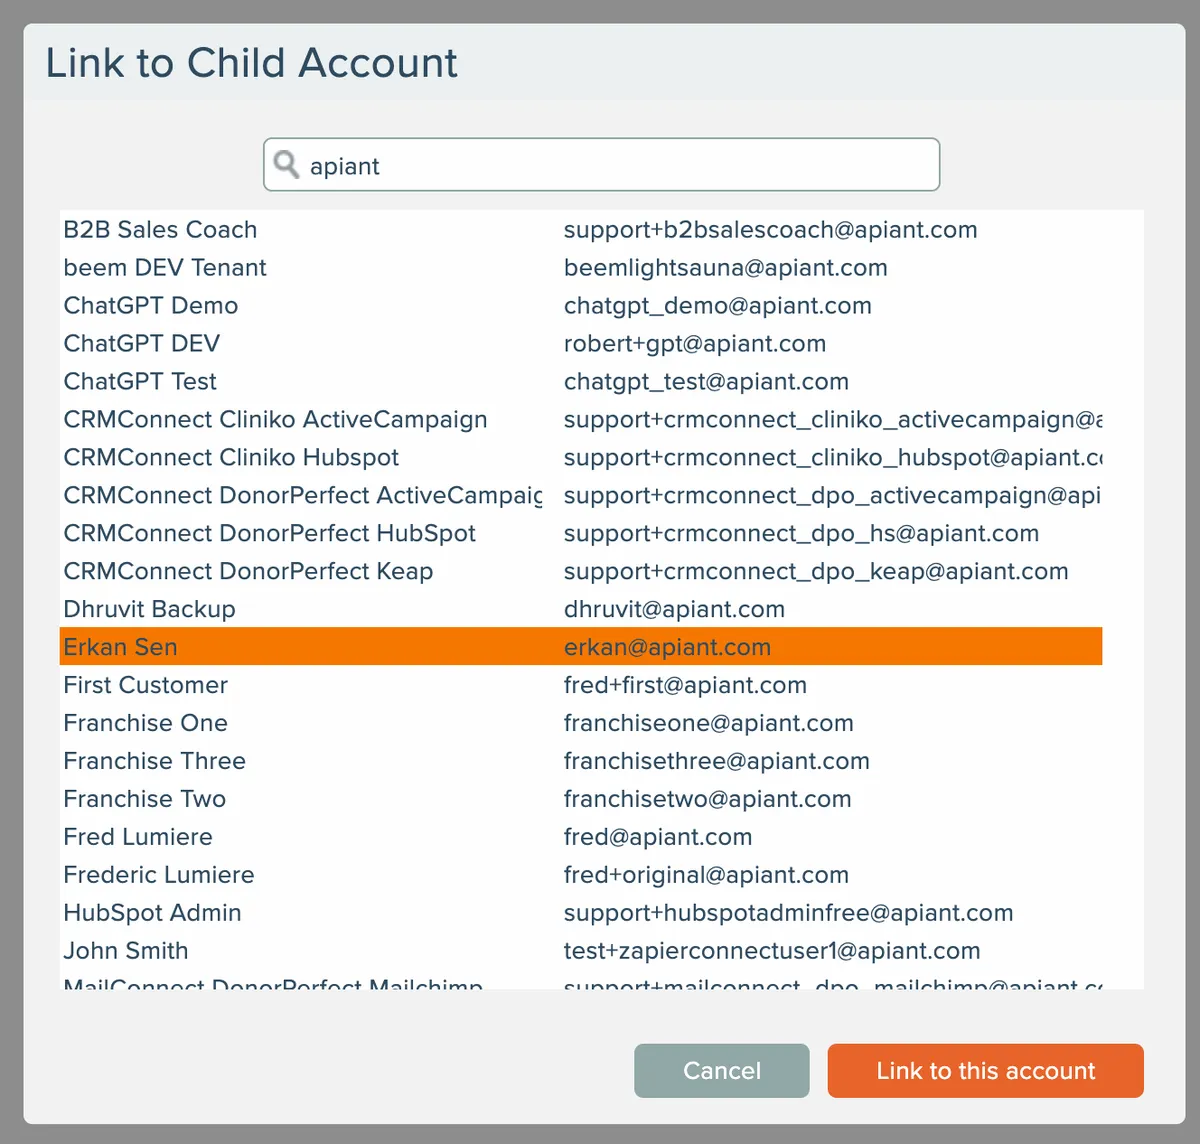
Then select the child account from the list that appears and click the Link button:
Create New Linked Child Account
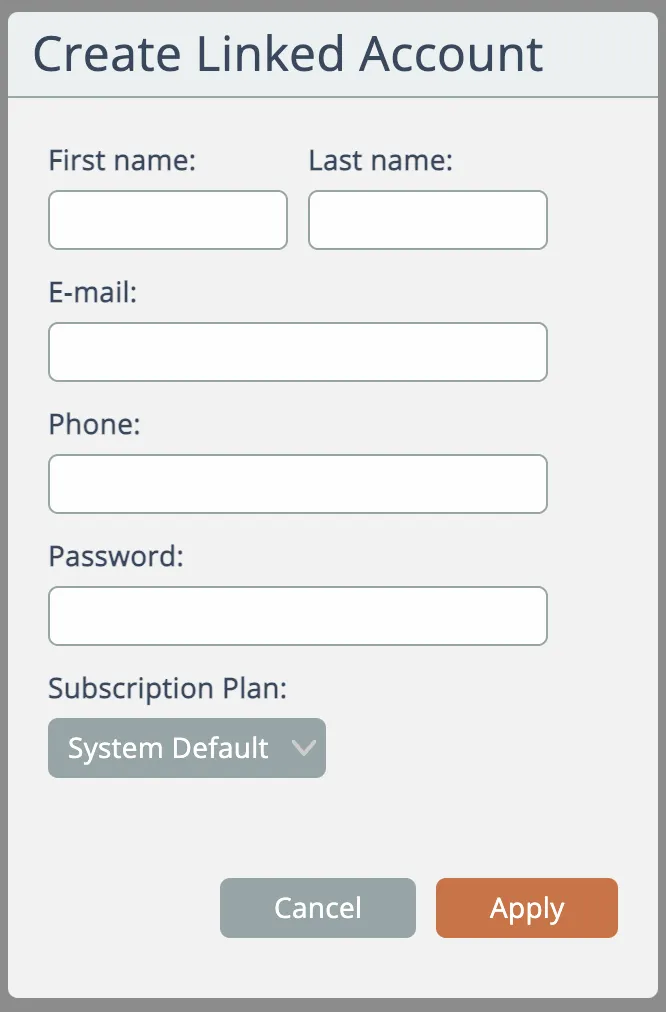
To link a new child account that does not yet exist, first select either an existing parent account or an unlinked account that will become the parent. Then choose the "Create new linked child account" menu option.

Then enter the details for the new child account to be created:
Unlink Child Account
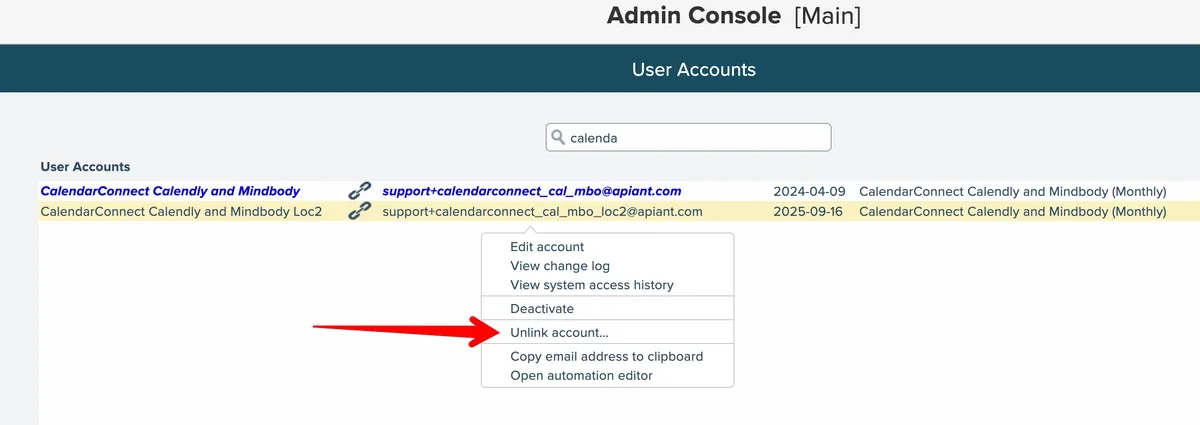
A child account can be unlinked from its parent by selecting the child account in the list and choosing the Unlink menu option:
Manage Account
Double-click an account in the list (or single click to highlight and choose the Edit Account menu option) to manage the account:
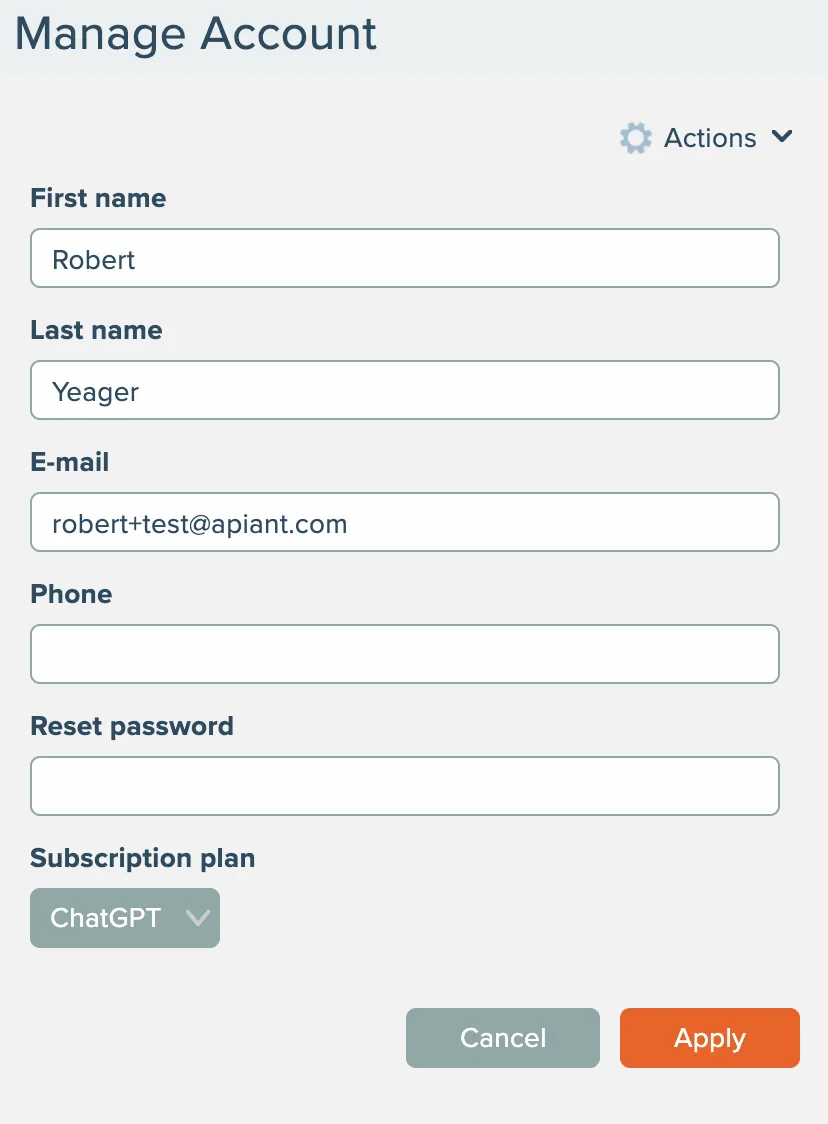
Edit Account Information
After editing the account's first and last name, email, and phone number click the Apply button to save the changes.
Reset Password
An account's password can be reset by entering a new password and clicking Apply.
Subscription Plan
An account's subscription plan can be changed by select a new subscription plan from the list and clicking Apply.
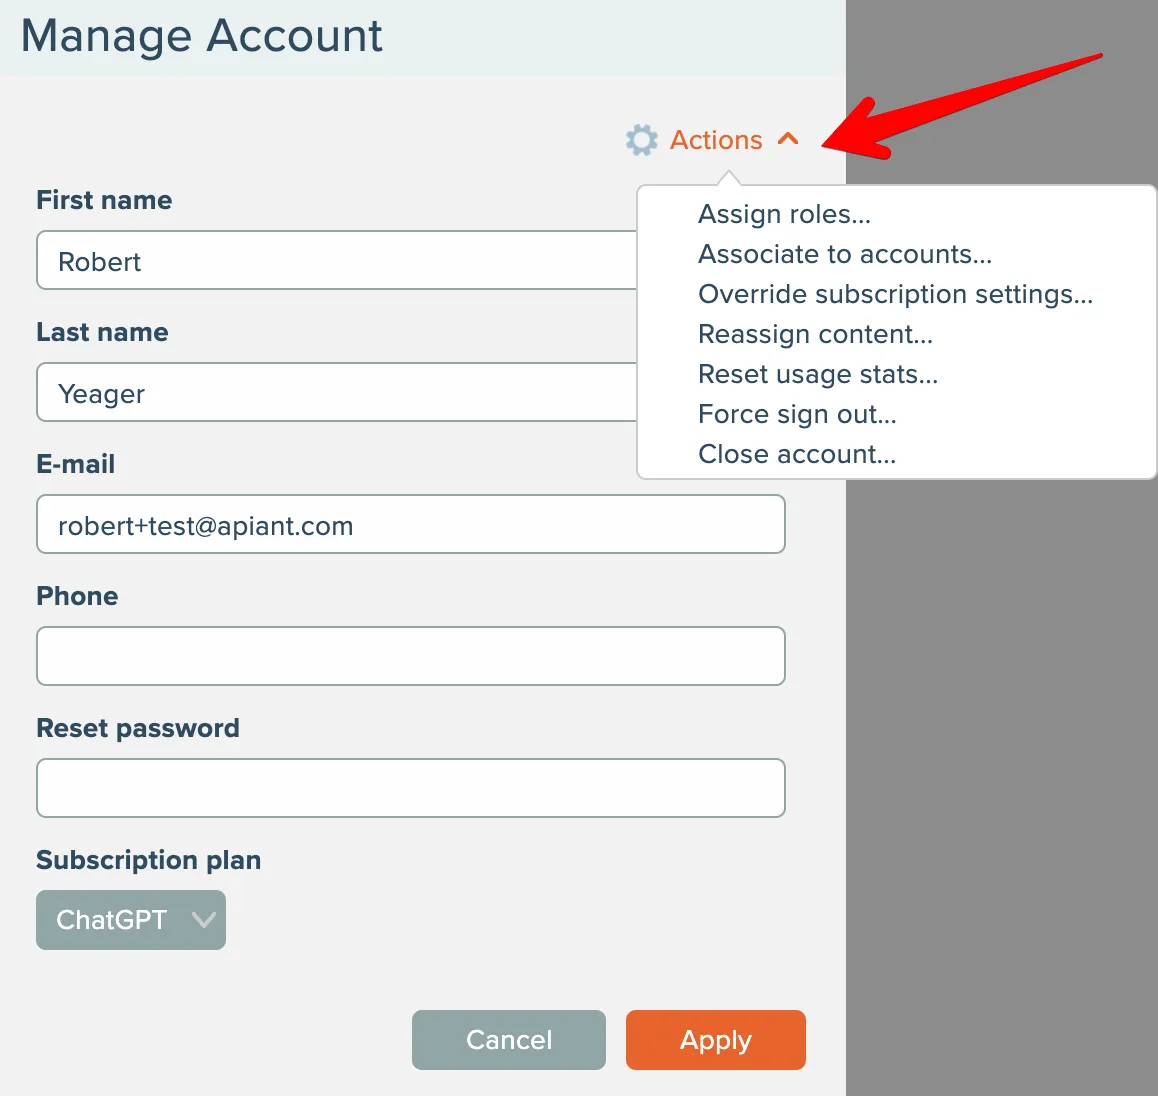
Actions menu
Open the Actions menu to perform other management actions on the account:
Assign Roles
Each account can be assigned one or more roles with defined permissions. See User Roles.
When accounts are created, they are assigned the default role.
Select the "assign roles" menu option to edit the account's roles:
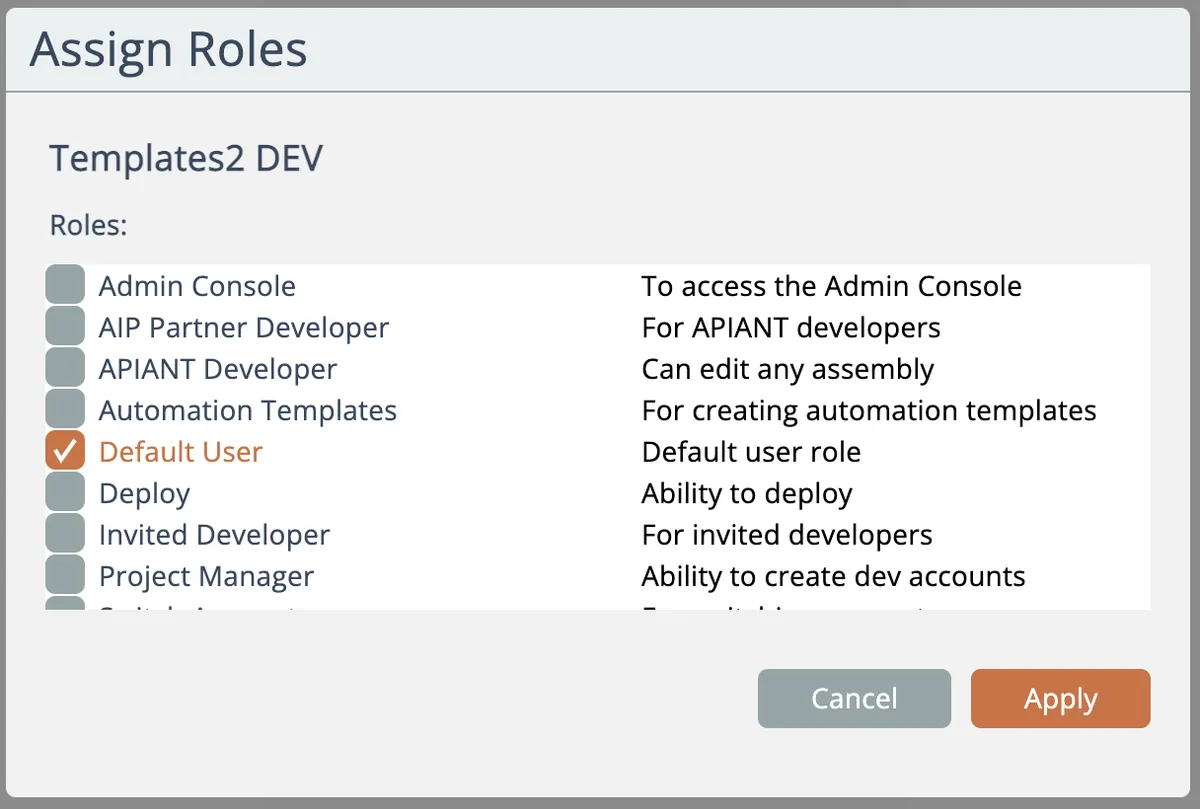
Check one or more roles for the account and click Apply to save.
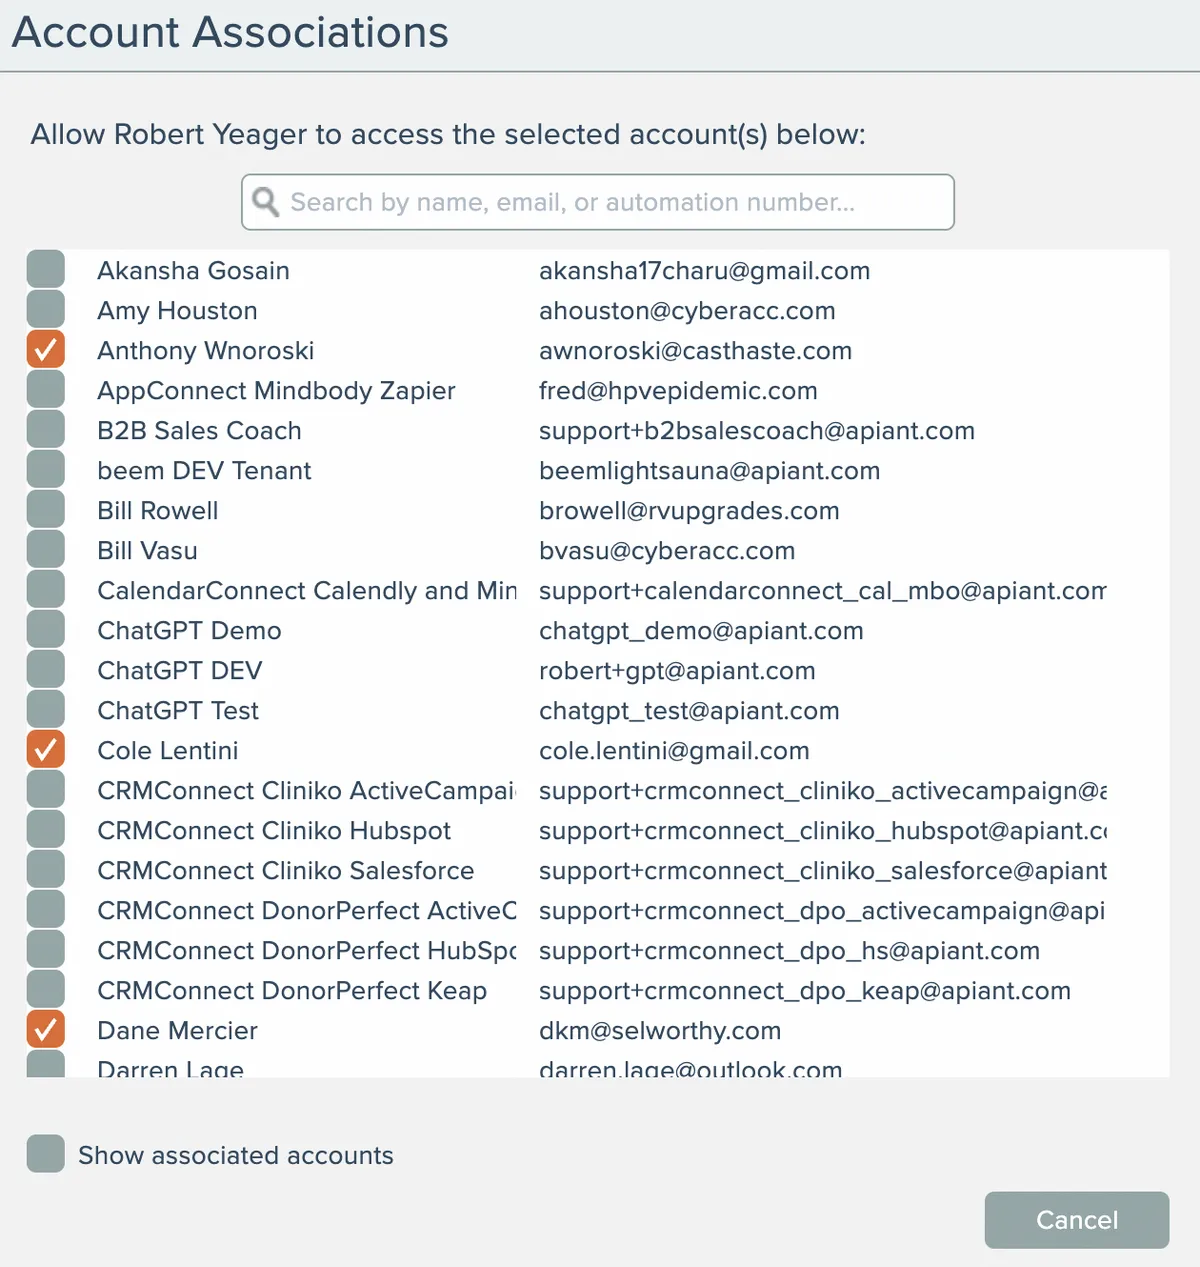
Account Associations
Select the "associate to accounts" menu option to allow this account to access other accounts in the system. A common scenario is where an associate (e.g. a Salesforce consultant) needs to access their clients' accounts in the system to manage their Salesforce automations.
Check the accounts the associate has authority to access in the system:
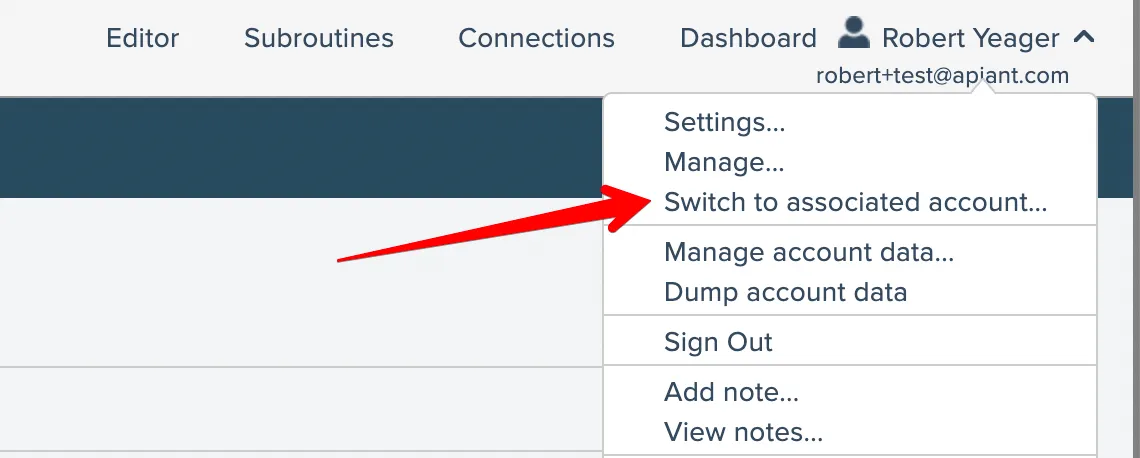
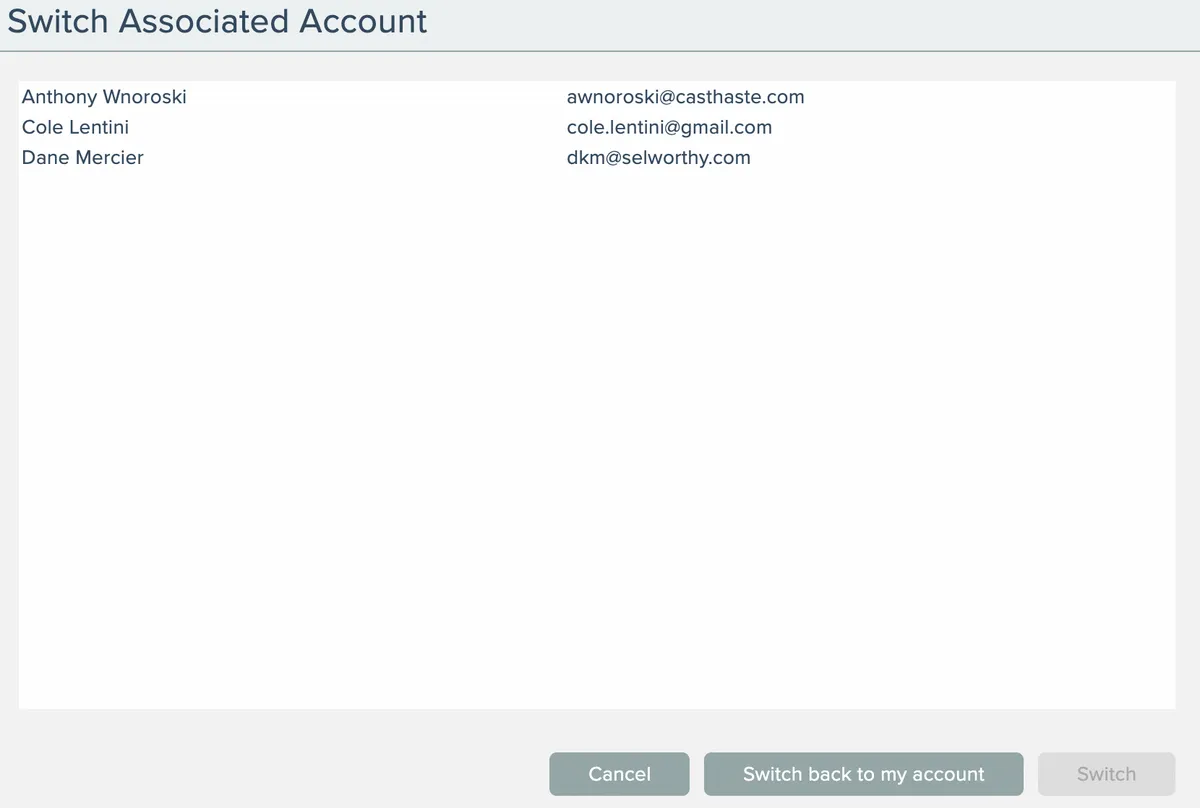
The associate will then be able to switch to their associated accounts from their account menu:
Subscription Plan Overrides
Account-level overrides to the account's subscription can be made by selecting the "override subscription settings" option:
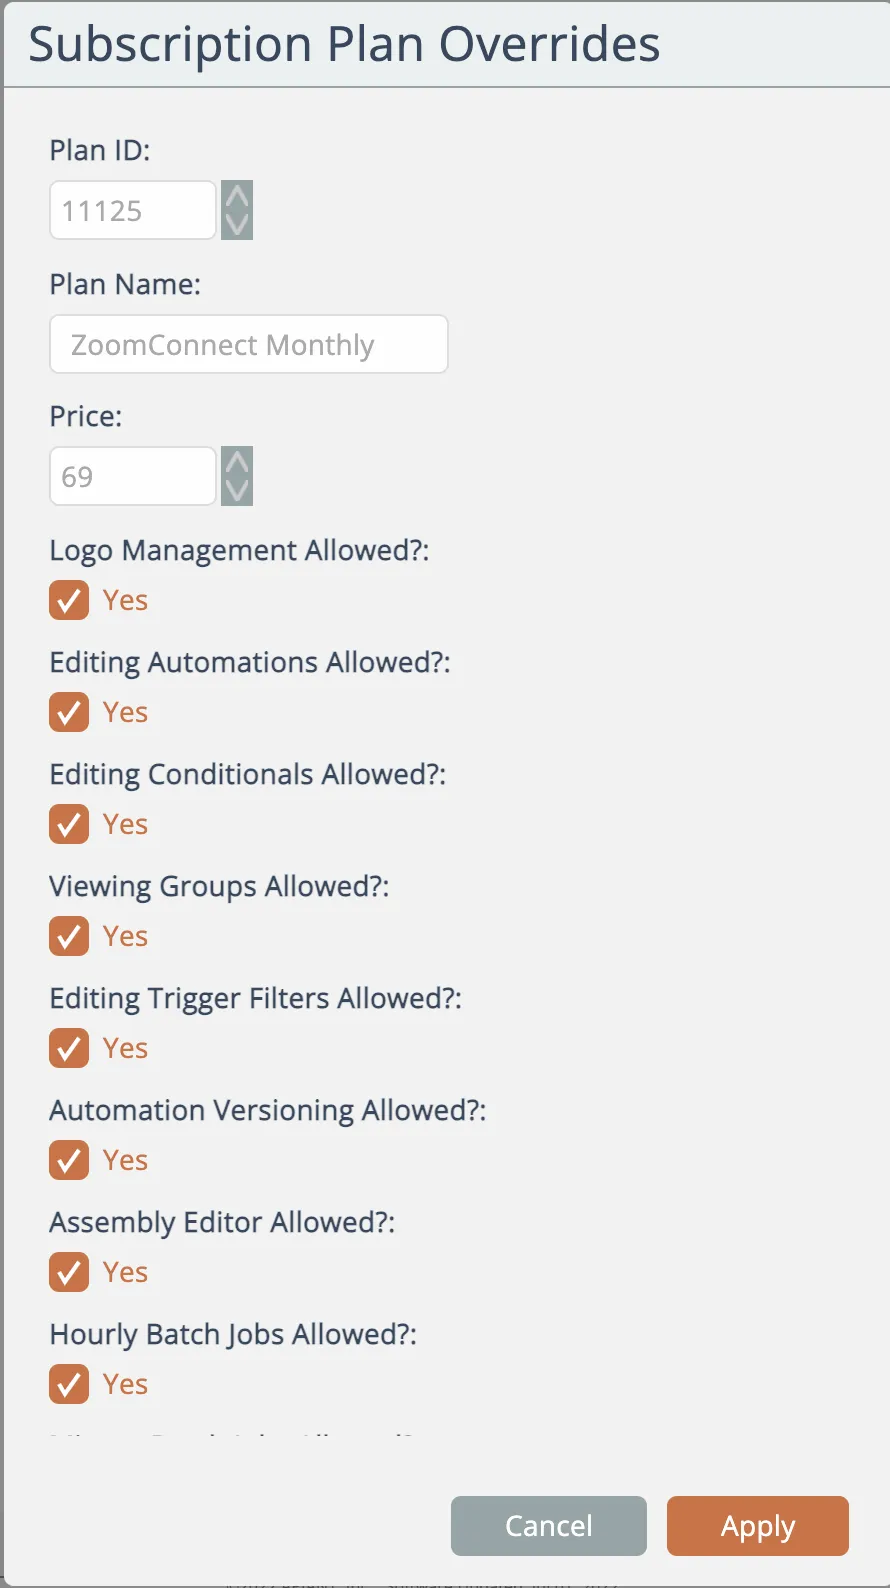
The list of overrides can be scrolled down.
Edit the needed overrides to the subscription plan for the account and click Apply.
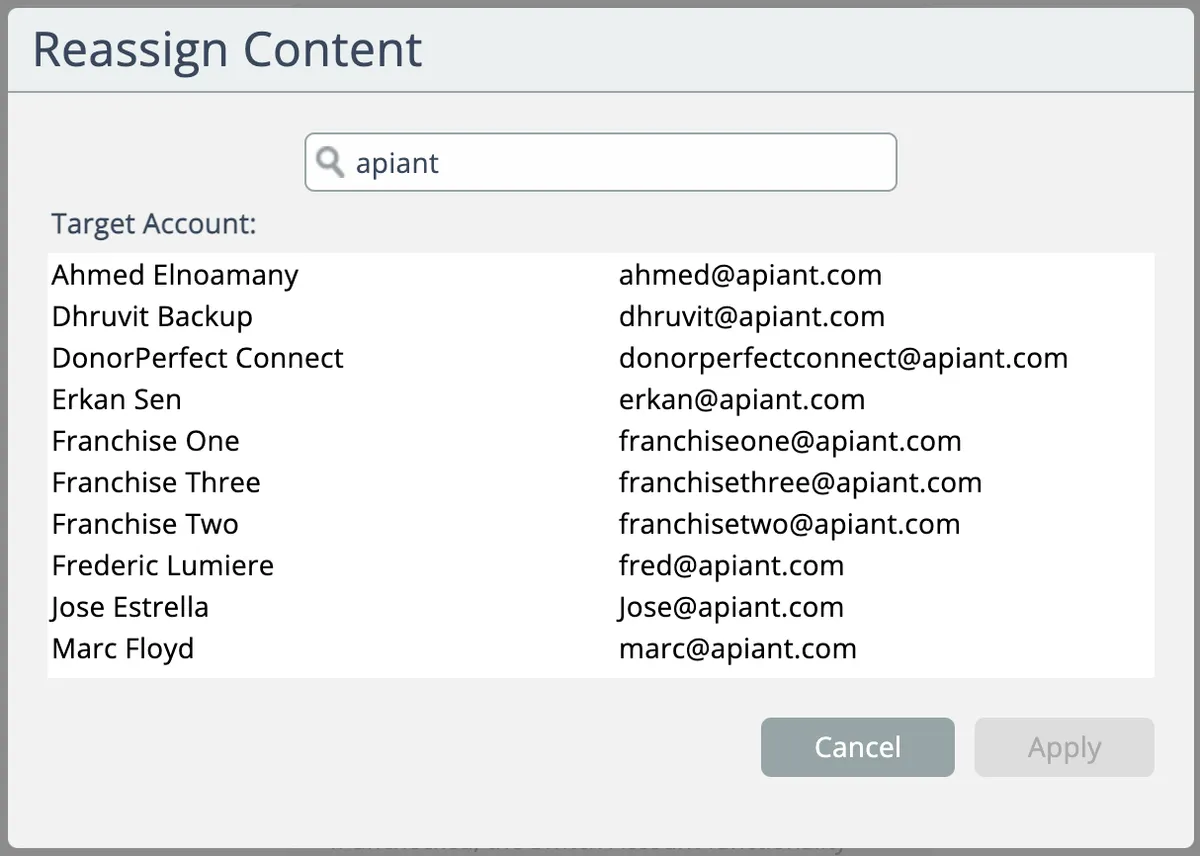
Reassign Content
Say a team member is leaving the company. You can re-assign their created content (assemblies, automations) to another account, such that the destination account becomes the new owner for all the content.
Select the "reassign content" menu option, then select the target destination account from the list and click Apply:
Reset Usage Stats
Subscription plans that are not usage-based are allotted various quantities of system usage such as tasks per month, webhook invocations per month, etc. The term "task" can be redefined as a custom billing unit in the subscription's settings, e.g. "invoices" per month, "bookings" per month, etc.
To reset the monthly counts for all usage stats back to zero, select the "reset usage stats" menu option.
Force Sign Out
To forcibly sign out an account from all browser sessions, select the "force sign out" menu option.
The account holder will have to sign back in to access the system.
Close Account
Select the "close account" menu option to close the account:
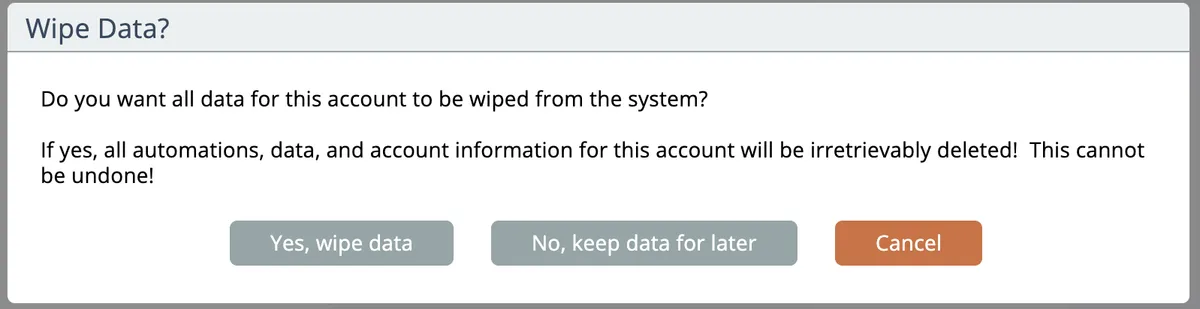
You can choose the wipe the account's data, or to keep the data intact.
Once an account's data has been wiped, it cannot be retrieved!