
HubSpot Setup Guide
Install APIANT.AI from the HubSpot App Marketplace, authorize your HubSpot portal, and build your first HubSpot integration by describing it in plain language.
This guide takes a HubSpot customer from the App Marketplace listing to a running HubSpot integration on APIANT.AI. It covers what gets installed, how the connection is authorized, what data APIANT can access, and what the day-to-day user journey looks like.
APIANT.AI is an integration platform (iPaaS). You connect your own HubSpot portal, describe the integration you want in plain language, and APIANT builds, tests, and runs it. Nothing to code, nothing to host.
Who this is for
- A HubSpot user who wants HubSpot connected to another tool: accounting, helpdesk, database, marketing platform, or any service with an API.
- Anyone who needs two-way sync between HubSpot and another system, for example HubSpot companies, contacts, and deals kept in step with QuickBooks Online customers and invoices.
You need a HubSpot user that is allowed to install apps: a Super Admin, or a user with the App Marketplace access permission.
What the integration does
| Direction | Two-way. APIANT reads from HubSpot and writes to HubSpot according to the integration you ask it to build. |
| Objects | Contacts, companies, deals, lists, and owners. Other objects are requested only if an integration you build needs them. |
| Runs as | Fixed automations with defined triggers, actions, and field mappings. AI builds the automation; at runtime it executes the same steps every time. |
| Authorization | You authorize your own HubSpot portal through HubSpot's OAuth consent screen. The user installing the app and the owner of the data are the same account. |
Step 1. Create your APIANT.AI account
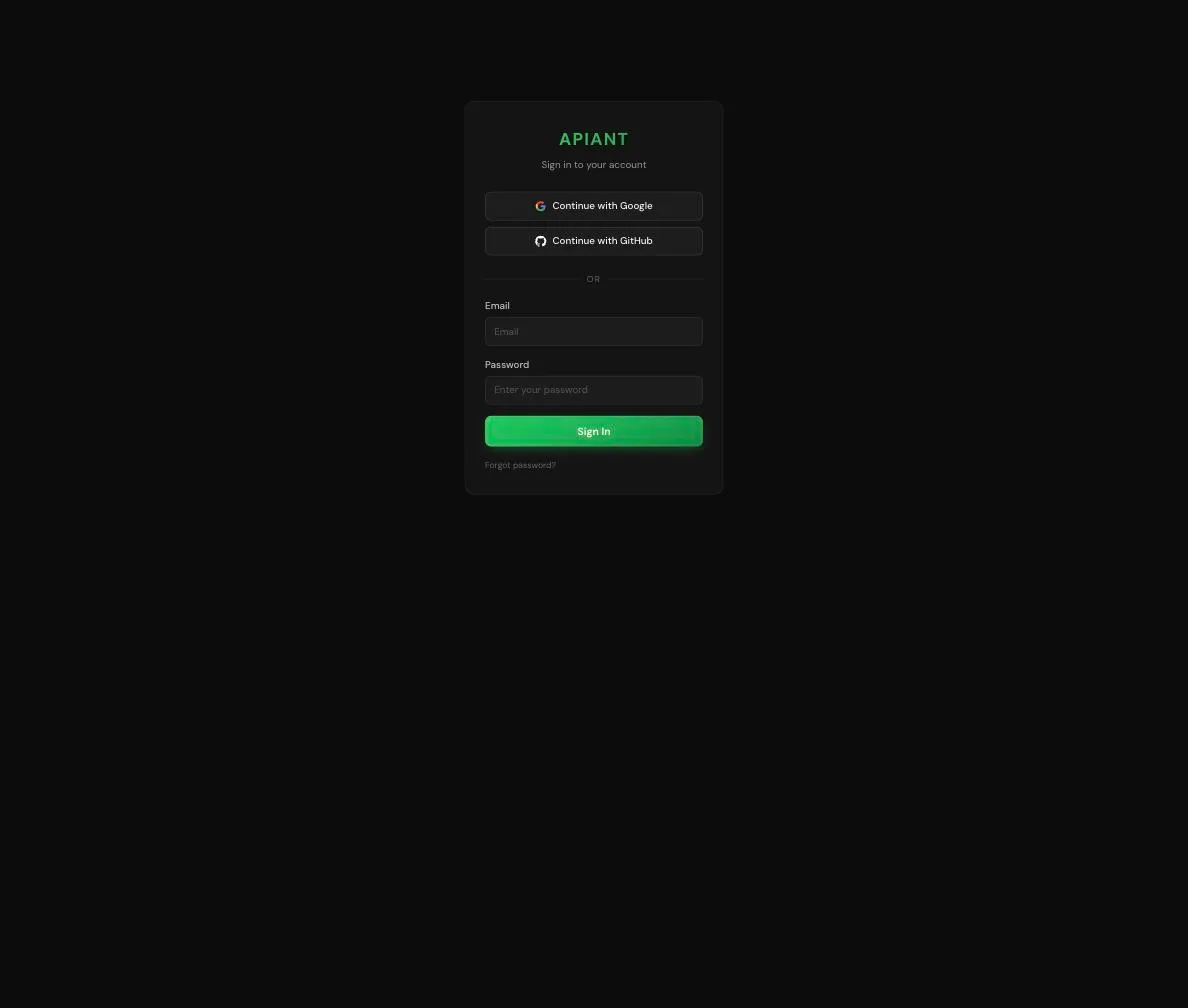
- Go to app.apiant.ai and create your account. Continue with Google, continue with GitHub, or use an email address and password.
- Confirm your email if prompted.
- Sign in. No credit card is needed to connect HubSpot and build your first integration.
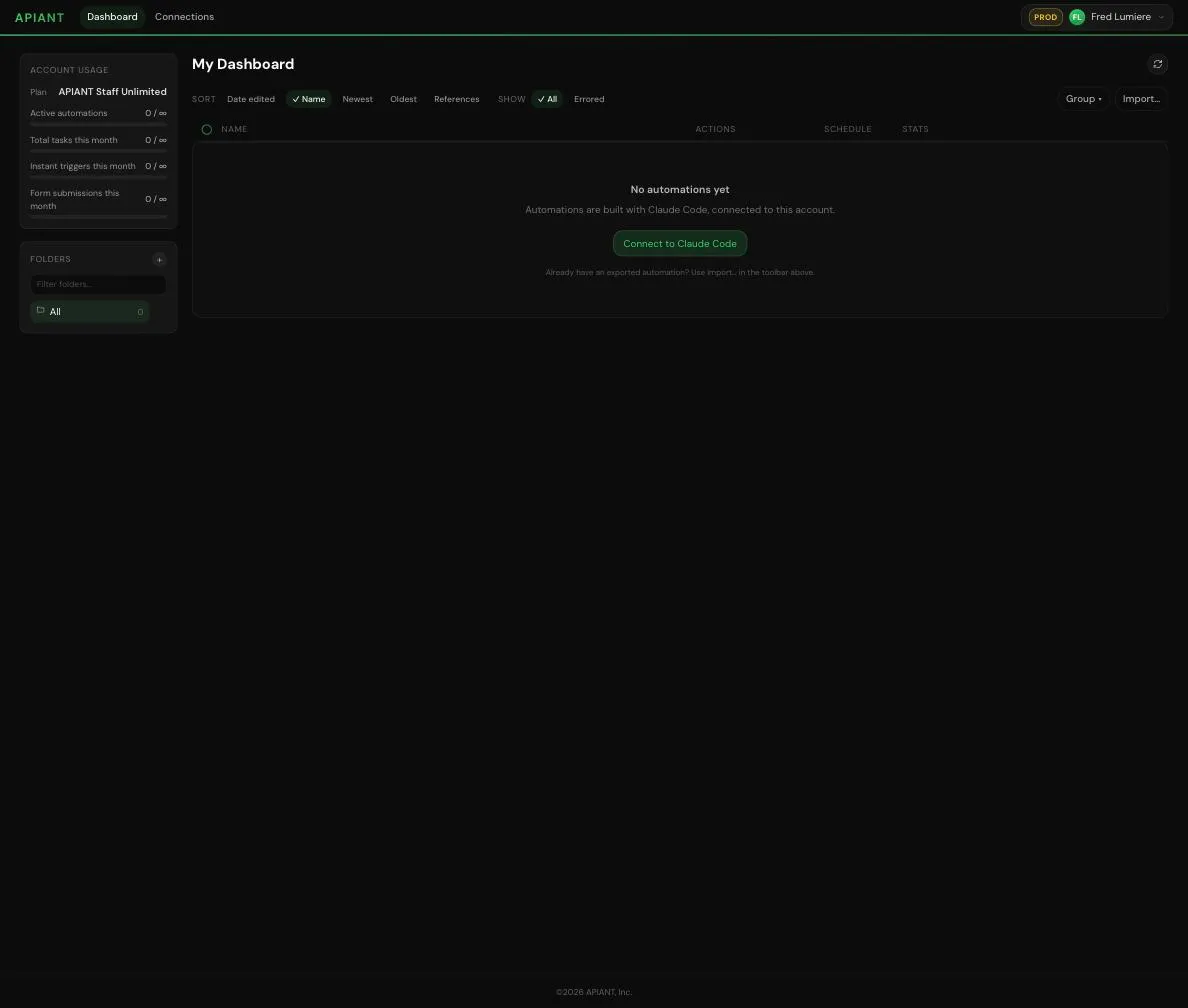
You land on your dashboard. It is empty until your first automation is built.
Step 2. Connect your HubSpot portal
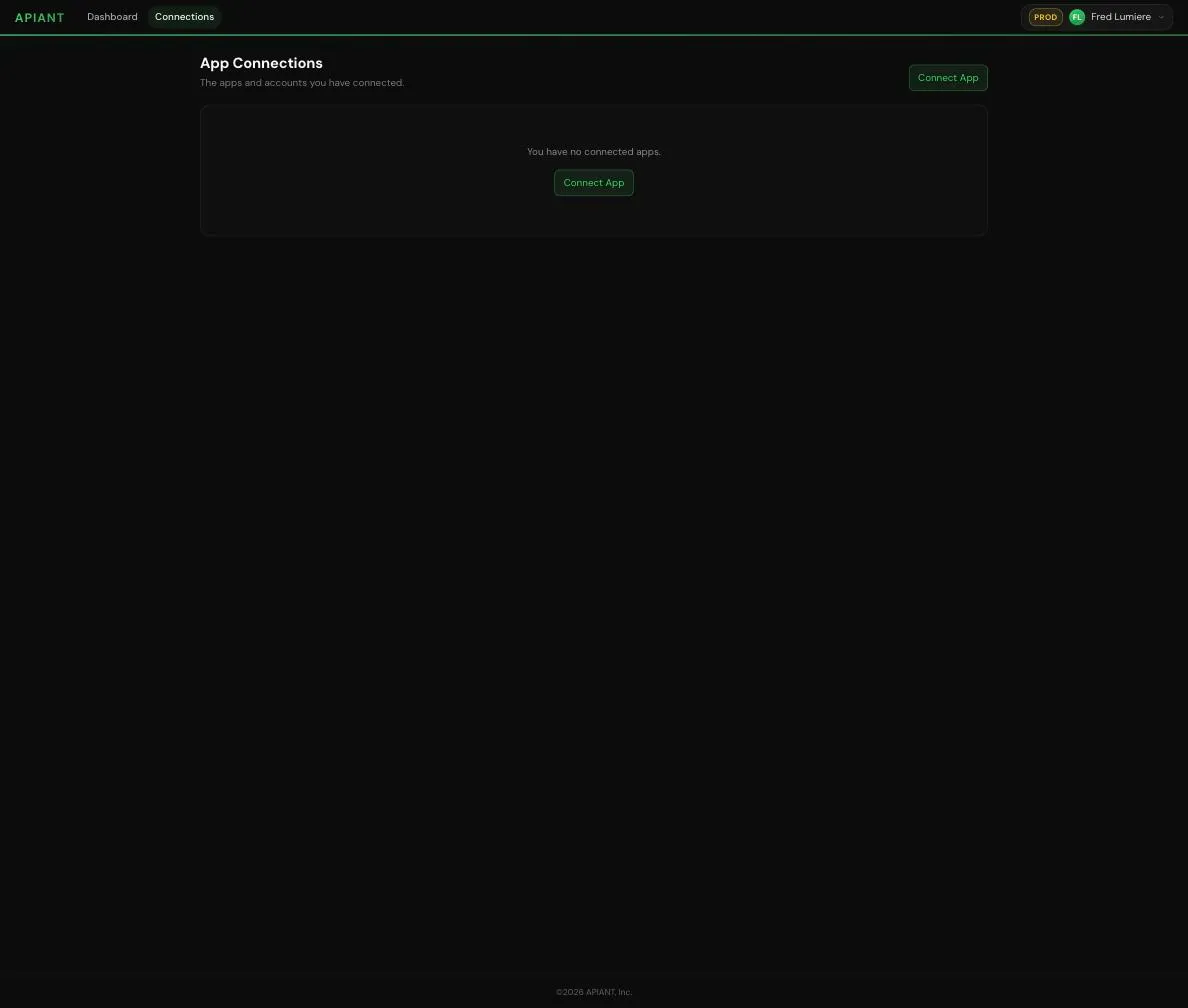
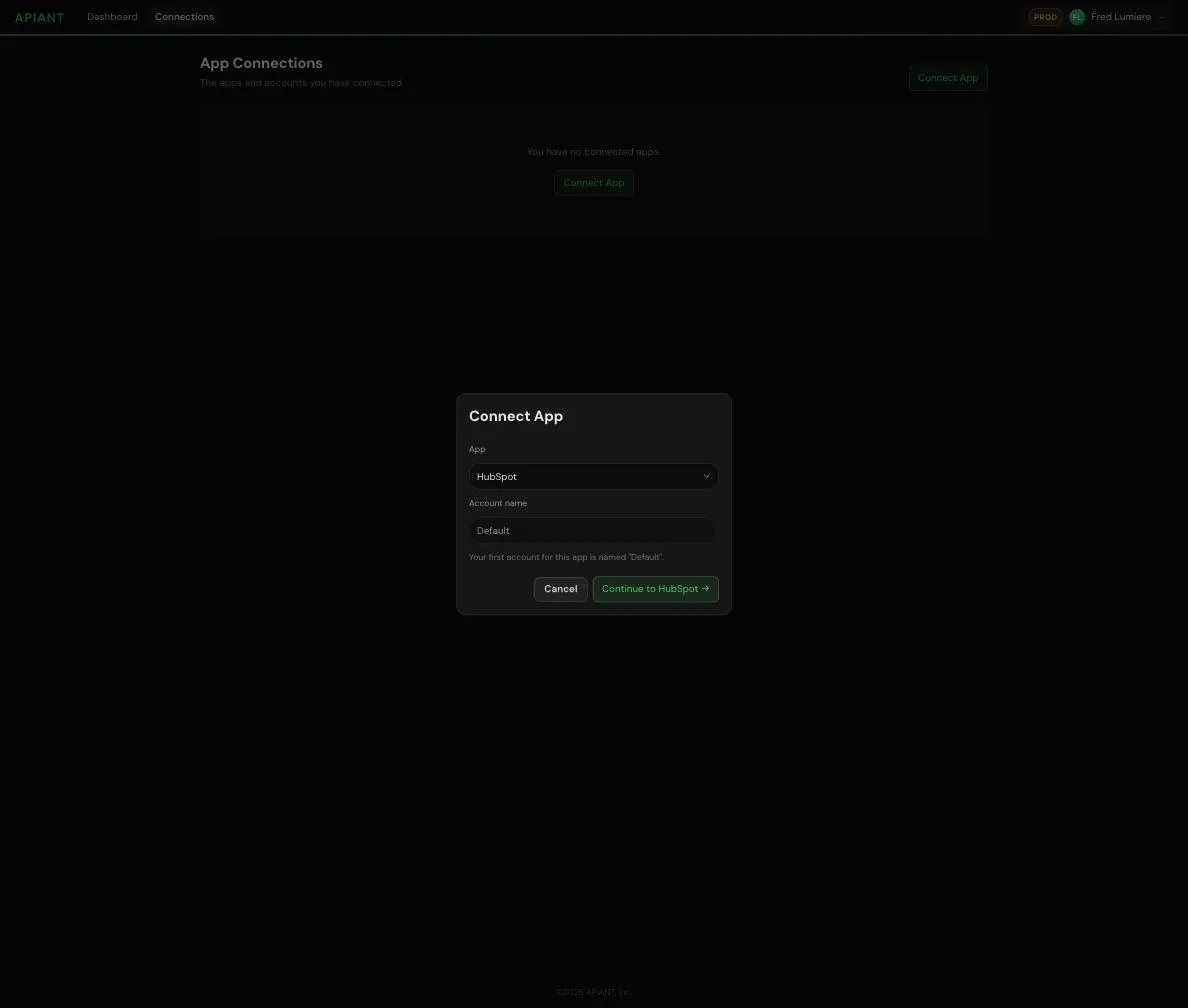
- In the top bar, open Connections, then select Connect App.
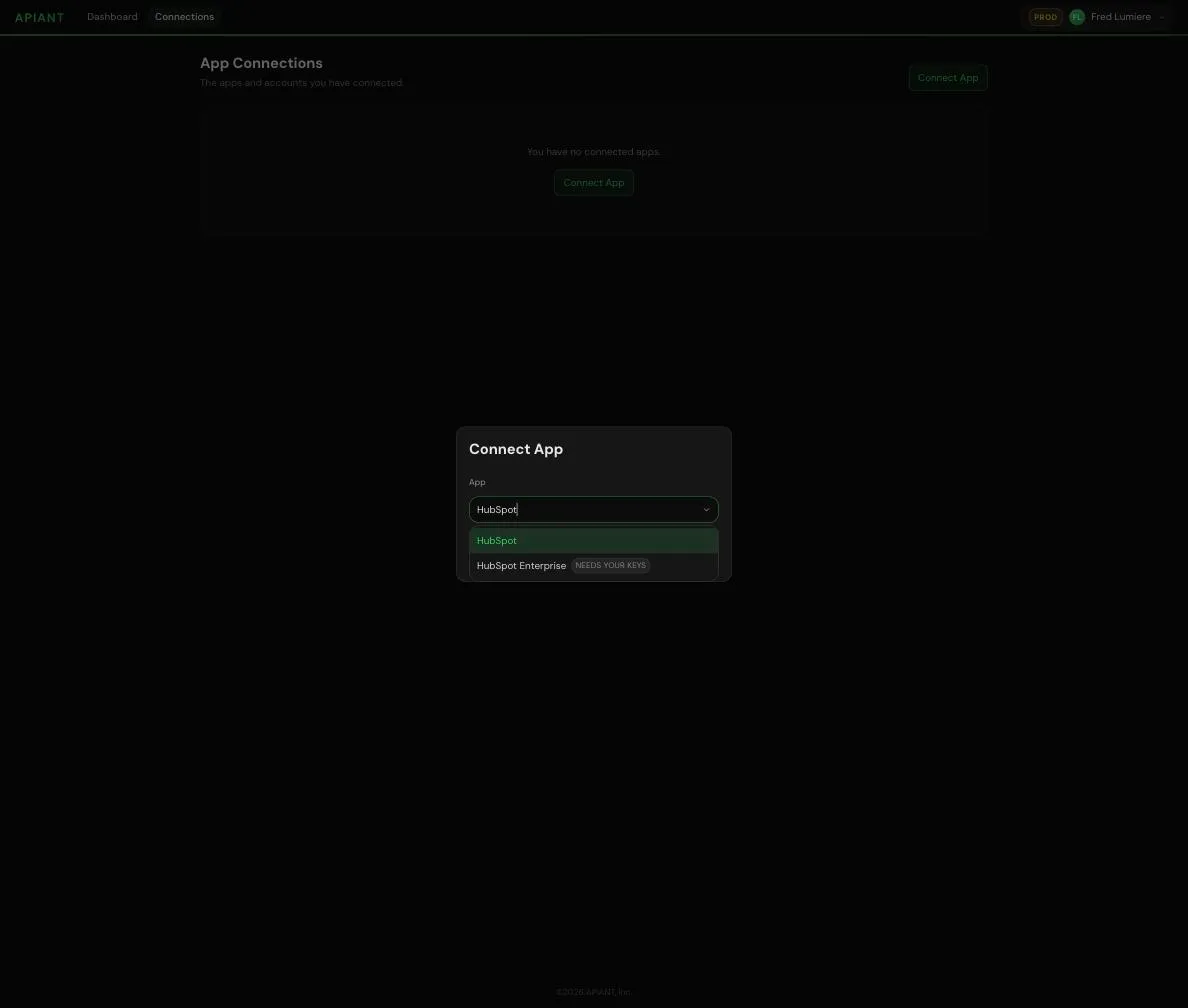
- In the Connect App dialog, search for HubSpot and select it.
- Keep the default account name or give the connection a name of your own (useful if you will connect more than one portal), then select Continue to HubSpot.
- HubSpot's authorization page opens. If you belong to more than one HubSpot account, pick the portal you want to connect. Review the permissions listed and select Connect app.
- You return to APIANT.AI. HubSpot now appears on the Connections page with one account.
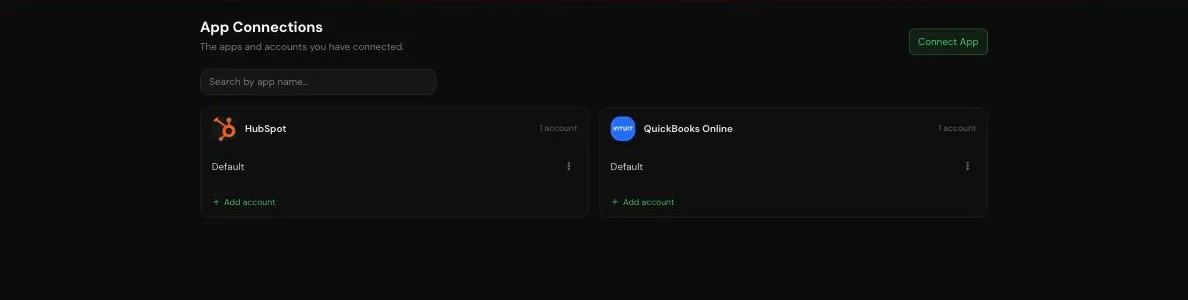
APIANT stores the OAuth token for your portal in an encrypted vault scoped to your APIANT.AI account. It never asks for your HubSpot password, and no other APIANT customer can see or use your connection.
Permissions requested at install
| Scope | Used for |
|---|---|
crm.objects.contacts.read / crm.objects.contacts.write | Reading and updating contacts in the integrations you build |
crm.objects.companies.read / crm.objects.companies.write | Reading and updating companies |
crm.objects.deals.read / crm.objects.deals.write | Reading and updating deals |
crm.lists.read / crm.lists.write | Reading list membership and adding or removing contacts from lists |
crm.objects.owners.read | Resolving the HubSpot owner of a record so it can be mapped to the other system |
If an integration you ask for needs another object (custom objects, for example), APIANT tells you and asks you to reconnect so HubSpot can show you the additional permission before anything is accessed.
Step 3. Describe the integration you want
APIANT.AI is operated from Claude Code: you describe the integration in plain language and the platform builds it. Connecting your workspace to Claude Code takes about two minutes.
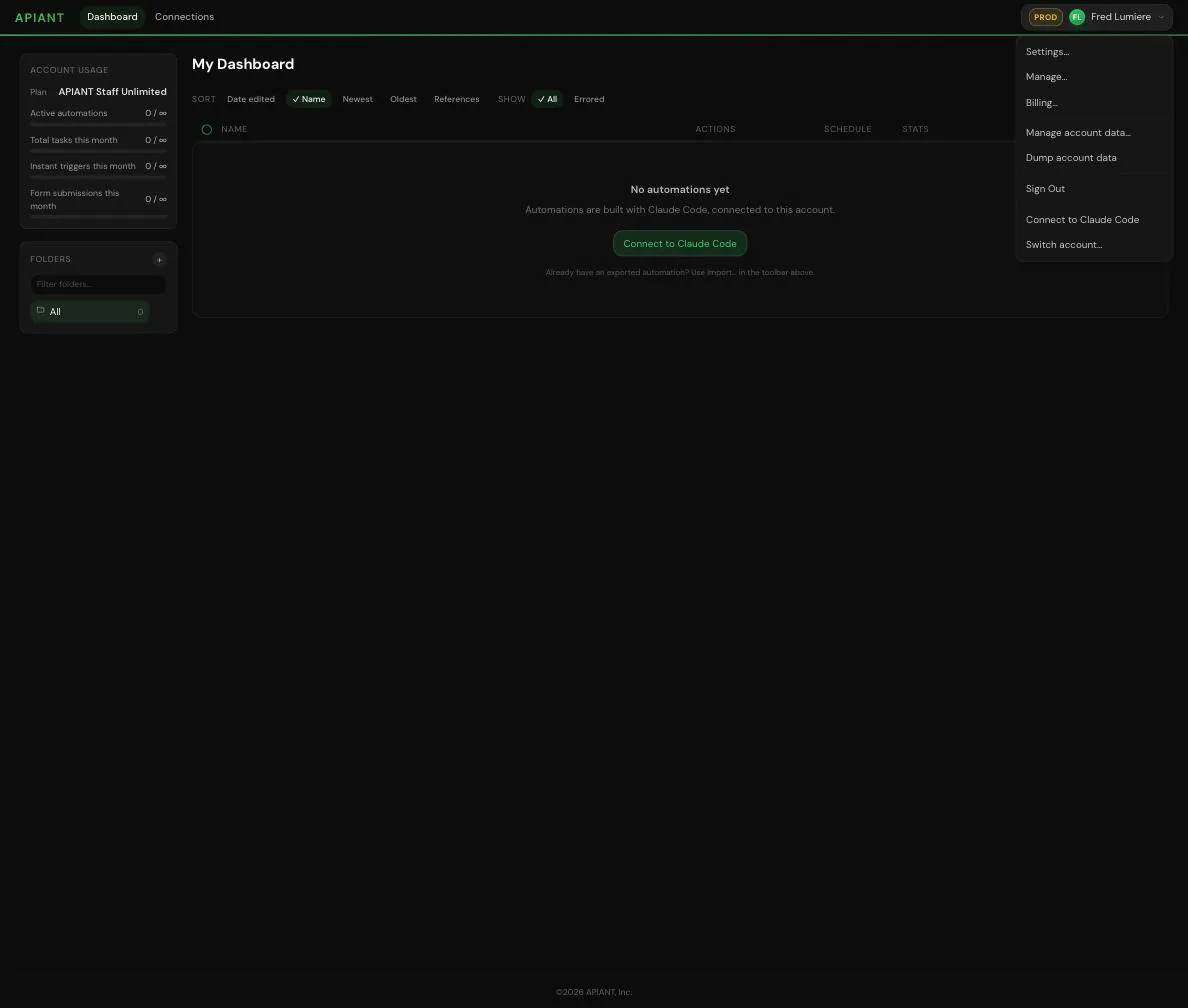
- Select Connect to Claude Code, either from the dashboard or from the account menu (your name, top right).
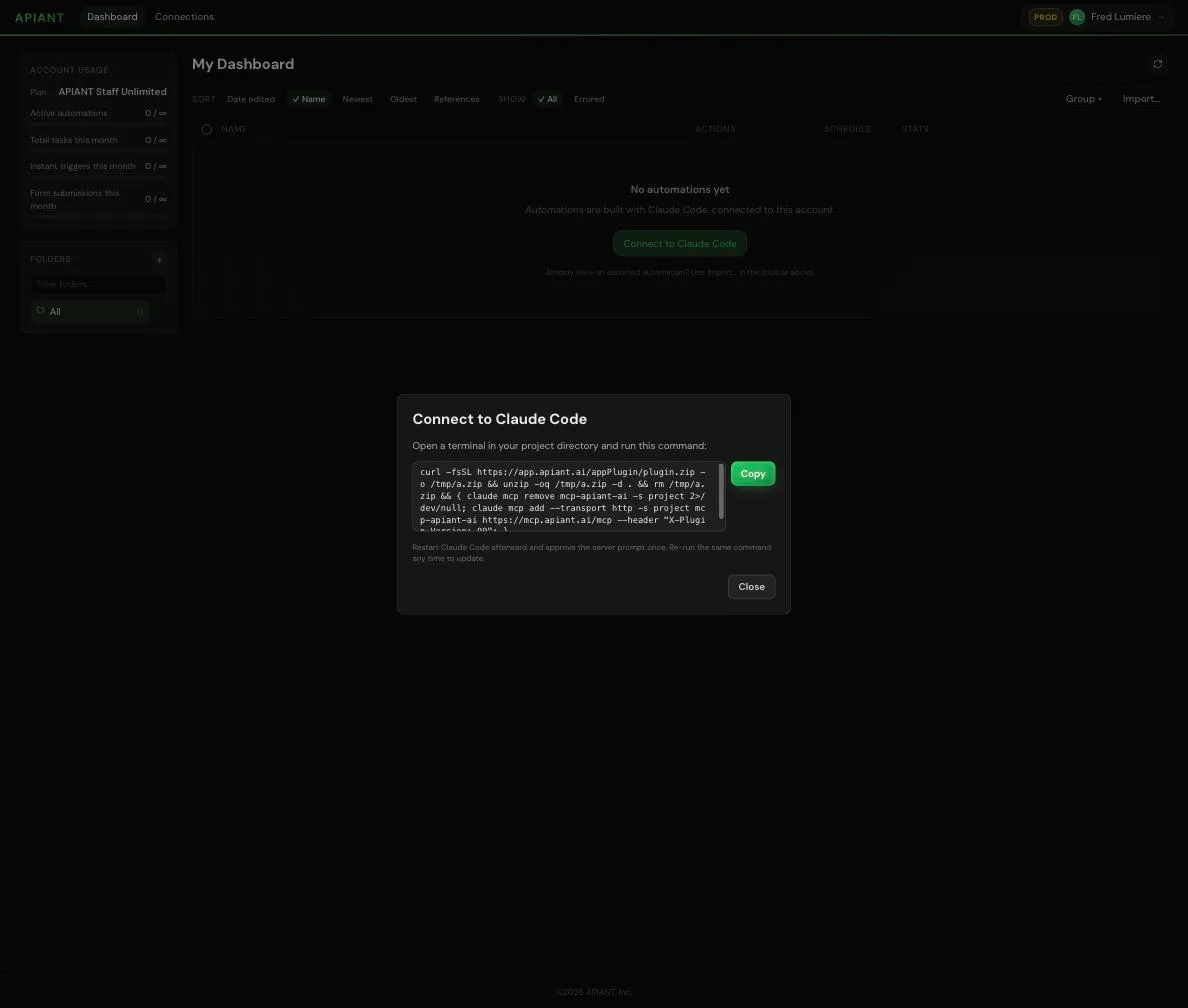
- A dialog shows a one-line install command. Copy it, paste it into a terminal in the project directory you want to work from, then restart Claude Code and approve the APIANT server prompt once. The full steps are in Install the Plugin.
- In Claude Code, describe what you need. Say what should kick it off and what should happen, as one plain sentence at the prompt:

Other examples:
"Keep HubSpot companies and contacts in two-way sync with our PostgreSQL customer table."
"Every night, add yesterday's new HubSpot contacts to a Google Sheet."
APIANT looks up the HubSpot operations it needs (triggers such as new or updated contact, actions such as create deal), works out the other side of the integration, drafts the automation, and tests each step against your live accounts before committing the result.
If the other system needs credentials (an API key, or its own OAuth sign-in), APIANT prompts you for them here. You do this once per service.
Step 4. Review the automation
When the build finishes, APIANT gives you a link to the automation in the visual editor. The editor shows every step: the trigger, each HubSpot action, the field mappings, and any branches. You can read it step by step and change anything: rename a mapping, add a filter, add a step.
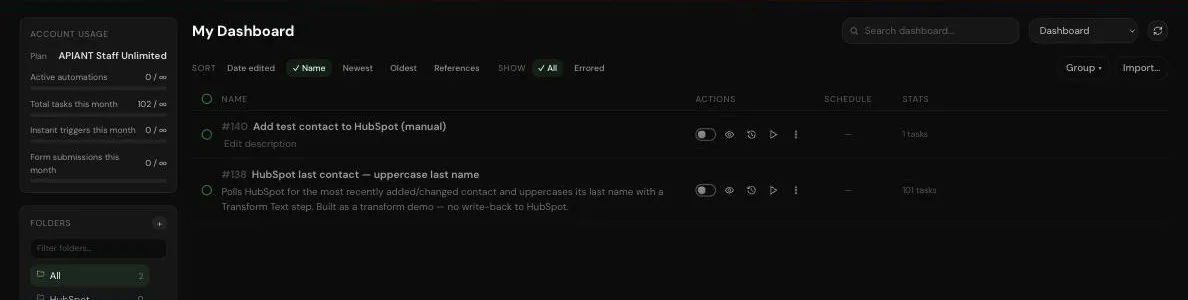
Every automation you build is listed on your dashboard, with its on/off switch, run history, and task counts.
Field mappings that are easy to get wrong (dates, phone numbers, currency) are flagged for you to confirm before the automation is committed.
Step 5. Test and turn it on
- Run a test. APIANT executes the automation against a real record and shows the input and output of every step.
- If a step fails, APIANT names the step, explains why, and proposes the fix.
- When the test passes, turn the automation on from the dashboard. From then on it runs on its schedule or whenever its trigger fires.
Run history is available at any time from the dashboard: every execution, every step, the data that went in and the data that came out.
Managing the connection
On the Connections page, open the menu next to your HubSpot account:
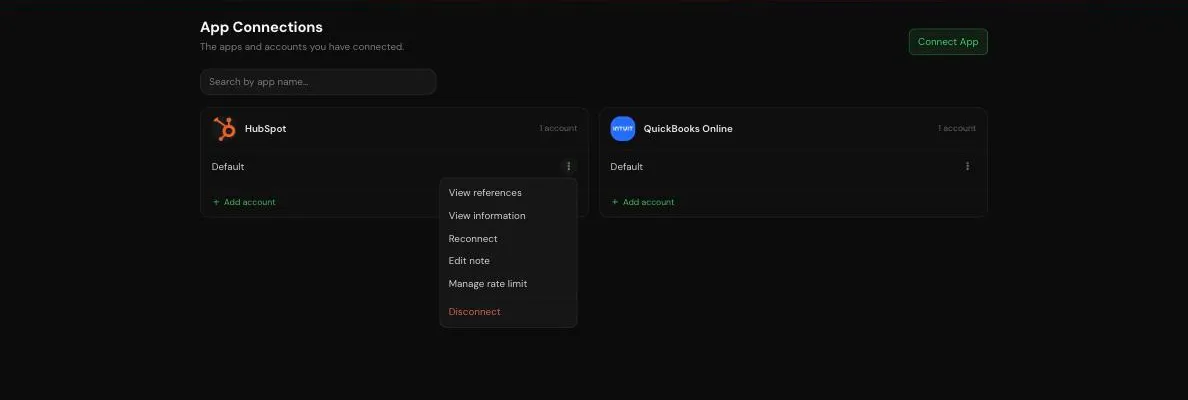
- View references shows which automations use this connection.
- Reconnect re-runs HubSpot's authorization. Use it when a token has been revoked or you need to grant an additional permission.
- Disconnect removes the token from APIANT.AI. Automations that depend on it stop until you reconnect.
- Uninstall from HubSpot. In HubSpot, go to Settings > Integrations > Connected Apps, find APIANT.ai, and select Uninstall. This revokes APIANT's token immediately.
Troubleshooting
HubSpot's authorization page says this account can't install the app. Your HubSpot user lacks the App Marketplace access permission. Ask a Super Admin to install, or to grant the permission.
The connection shows as connected but a test fails with 401 Unauthorized. The token was revoked, usually because the app was uninstalled in HubSpot or the authorizing user was removed. Select Reconnect.
A HubSpot step fails with 403 or "missing scope". The automation uses an object the connection was not authorized for. Select Reconnect and approve the additional permission HubSpot shows you.
A property is missing from the field mapping. Ask APIANT to refresh the HubSpot fields for that step. Newly created custom properties appear after a refresh.
Support
Email support@apiant.com or call +1 (215) 712-8083. Include the automation link and, if a run failed, the run history link so we can see the exact step and payload.