Your first automation
Building your first automation requires adding a trigger and an action. Start by selecting an app or system utility trigger, configure any settings, then add an action to complete the workflow.
From any screen, click the "create an automation" menu at the top of the screen. Alternatively, from the dashboard you can also click the button at the top left:
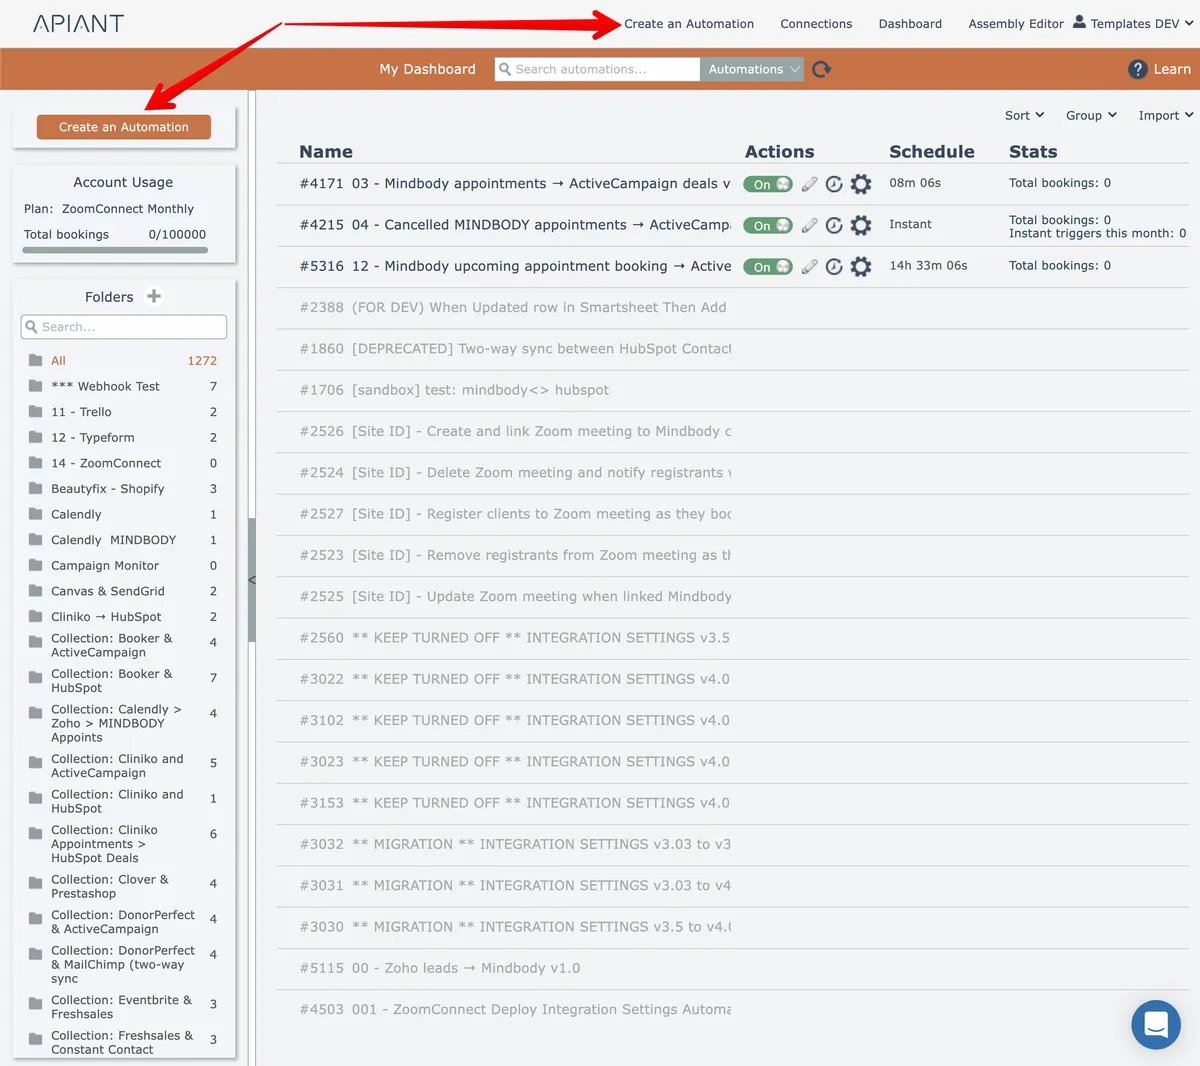
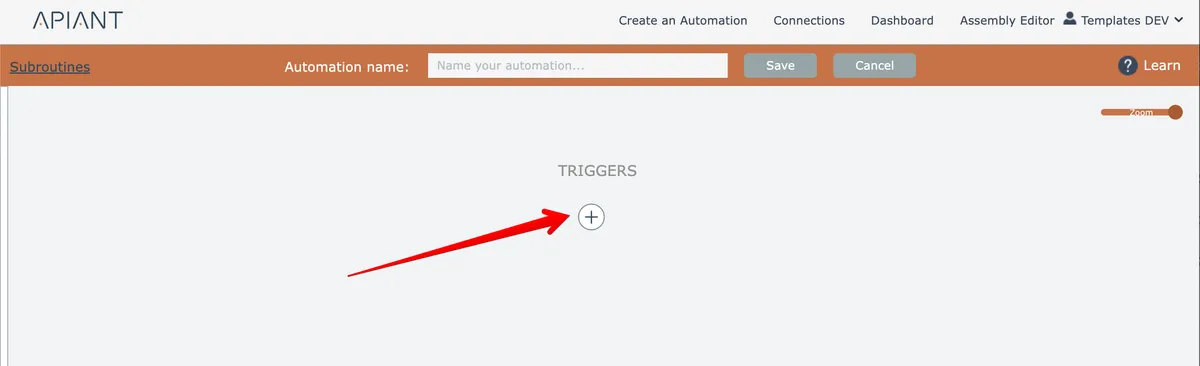
A minimal automation consists of one trigger and one action. Click the plus icon to add a trigger:
A menu of options will appear:
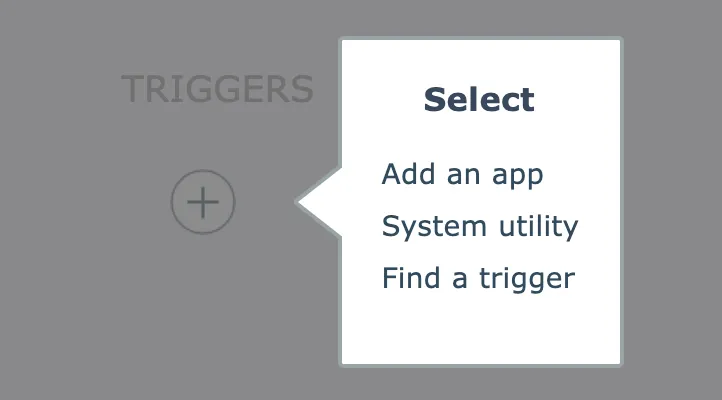
Add an app: select this if you know which app you want to use
System utility: lists built-in system utility triggers
Find a trigger: find triggers by their names or descriptions. For example, if you want to receive an online form submission, you can search for "form" and view all implemented apps and triggers related to form processing.
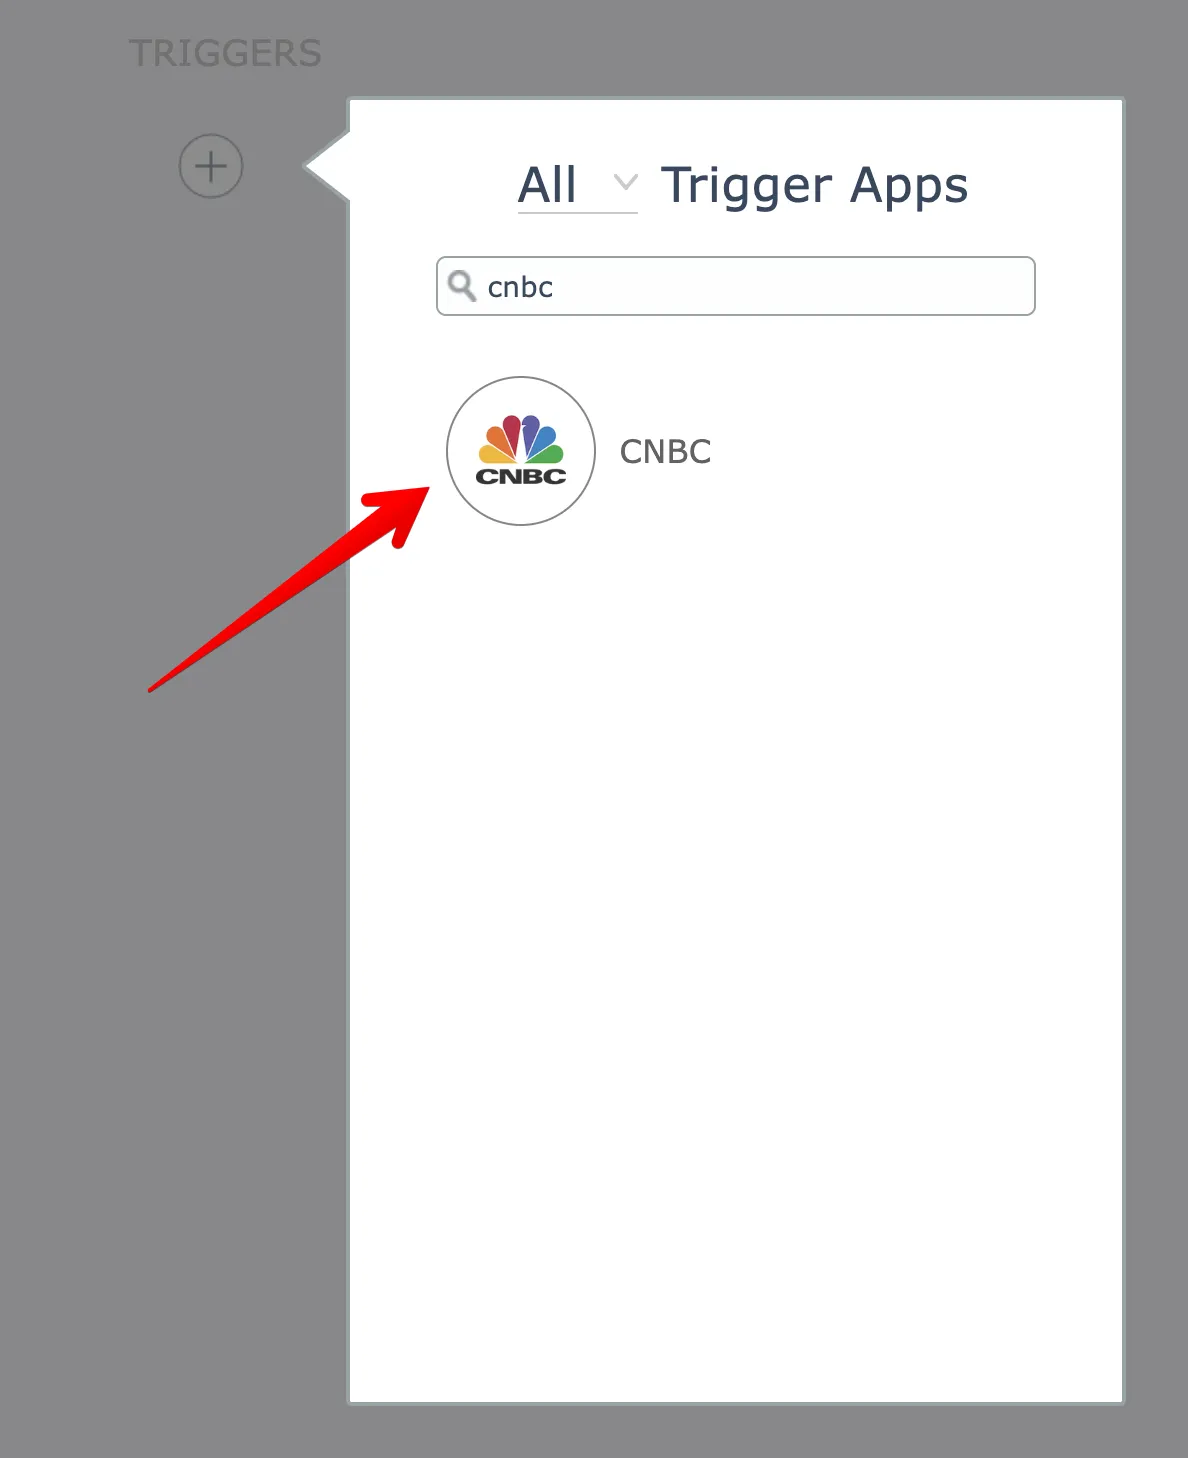
Select the "add an app" option and then search for CNBC and click the app to add it to the automation:
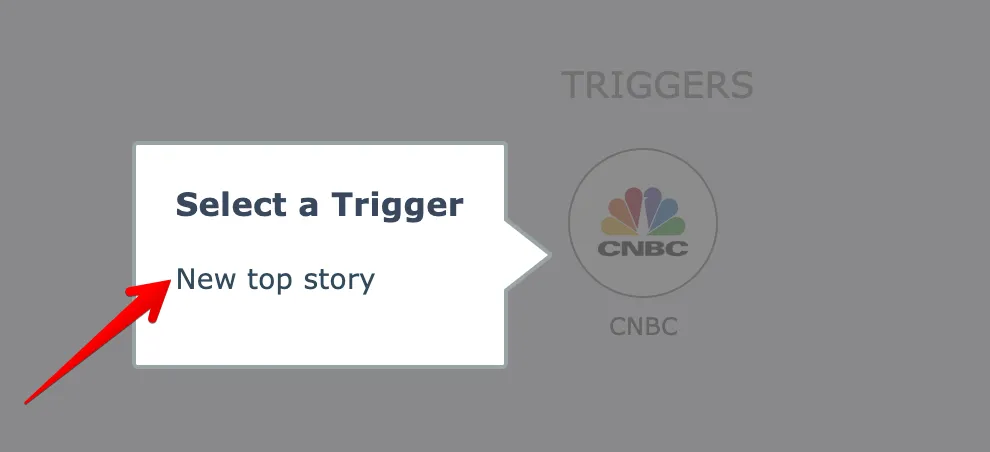
The CNBC app has a single trigger. Select it:
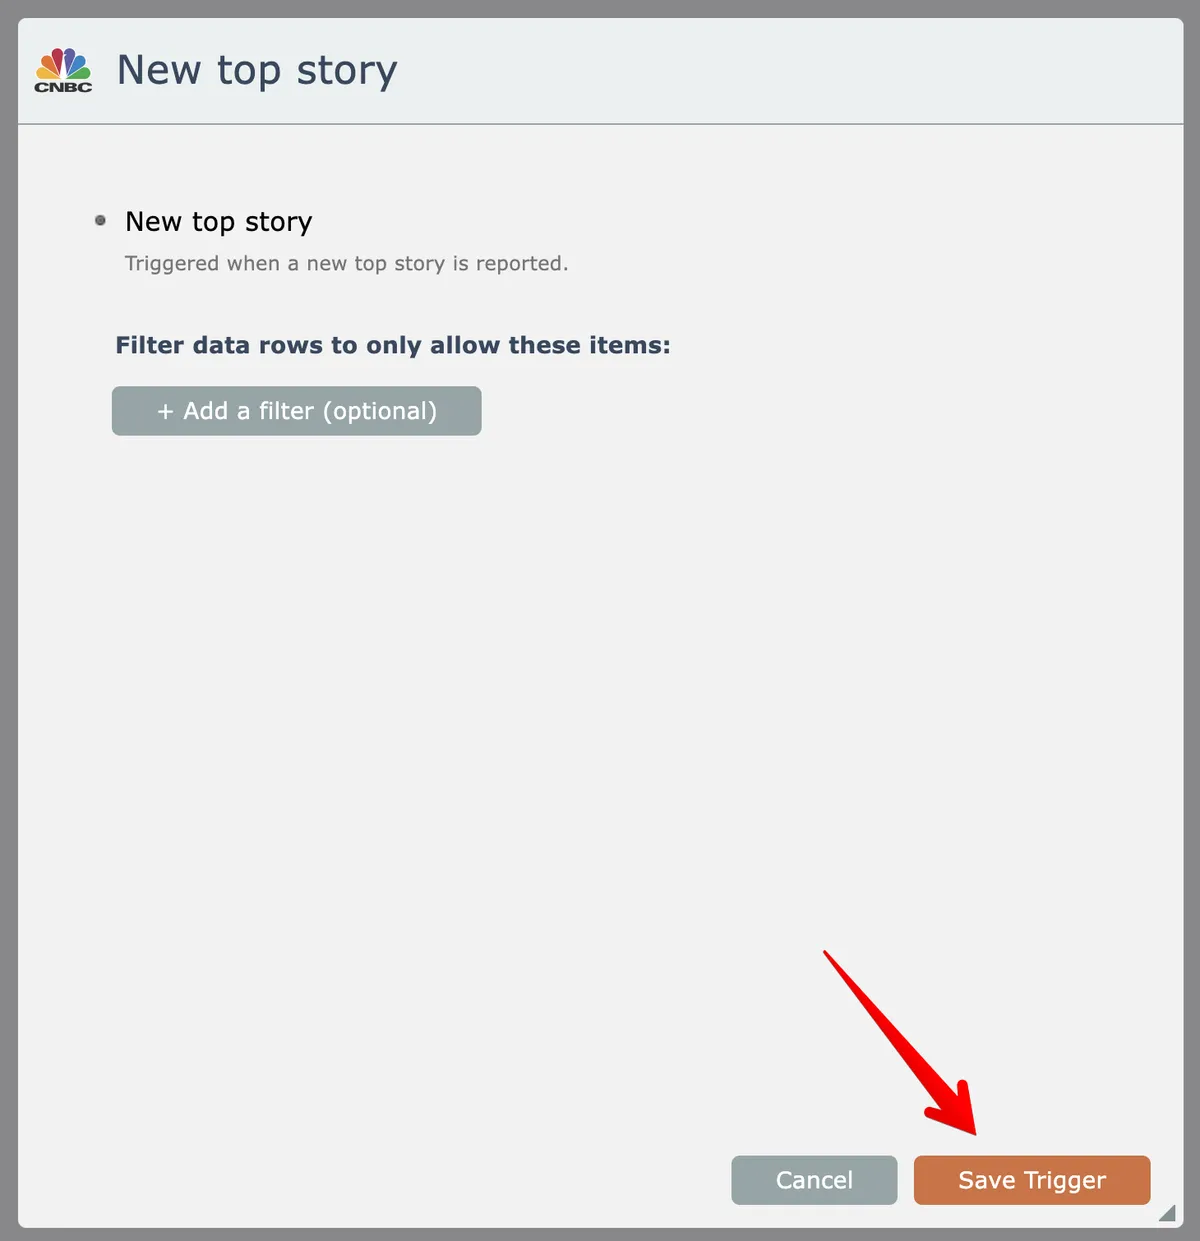
The CNBC app requires no account connection in order for it to fetch data from the CNBC RSS news feed. If the selected app did require a connection, the system would walk you through connecting an account to the app.
This trigger has no settings that need to be configured, so click the button to save it:
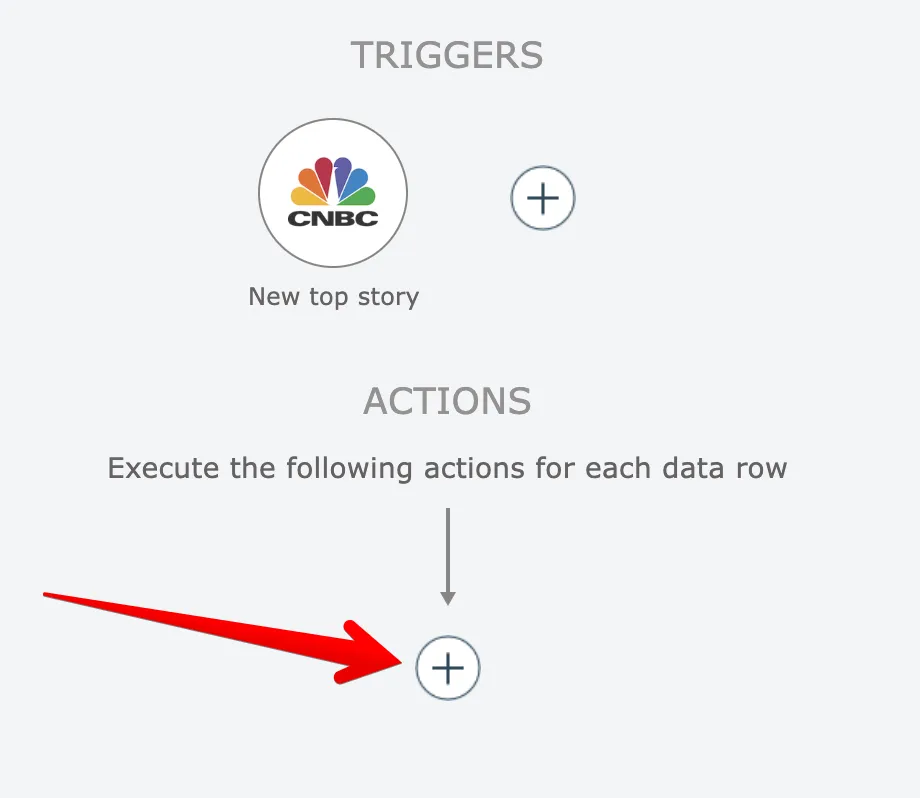
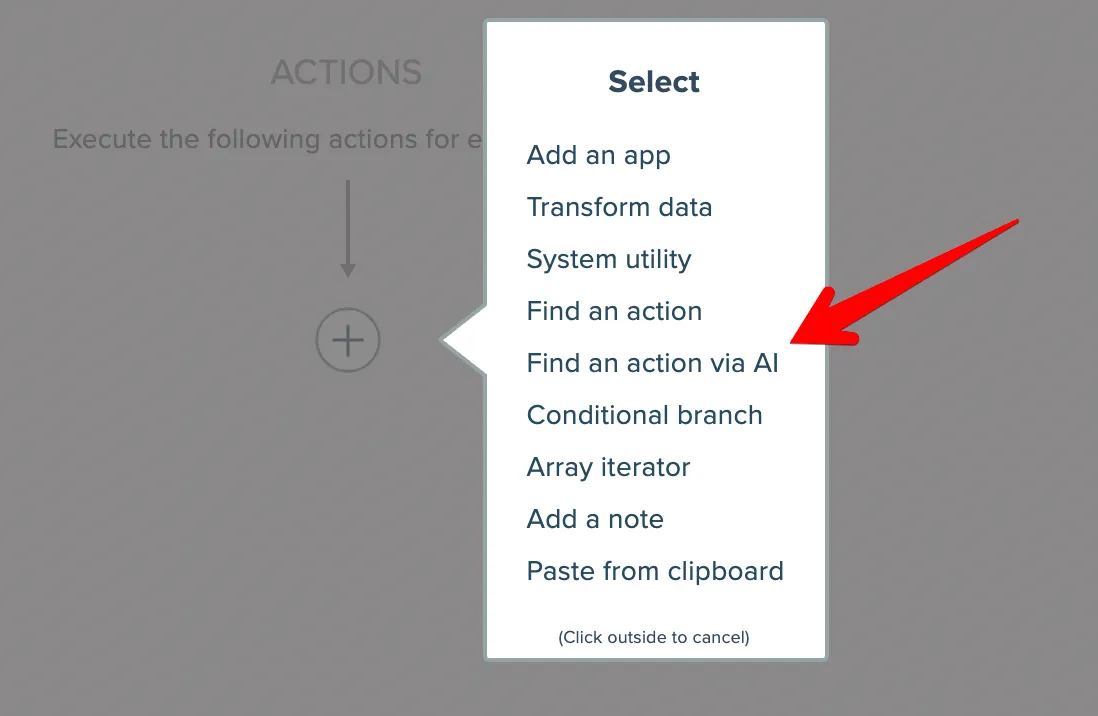
Now add an action by clicking the plus icon:
A menu of options will appear:
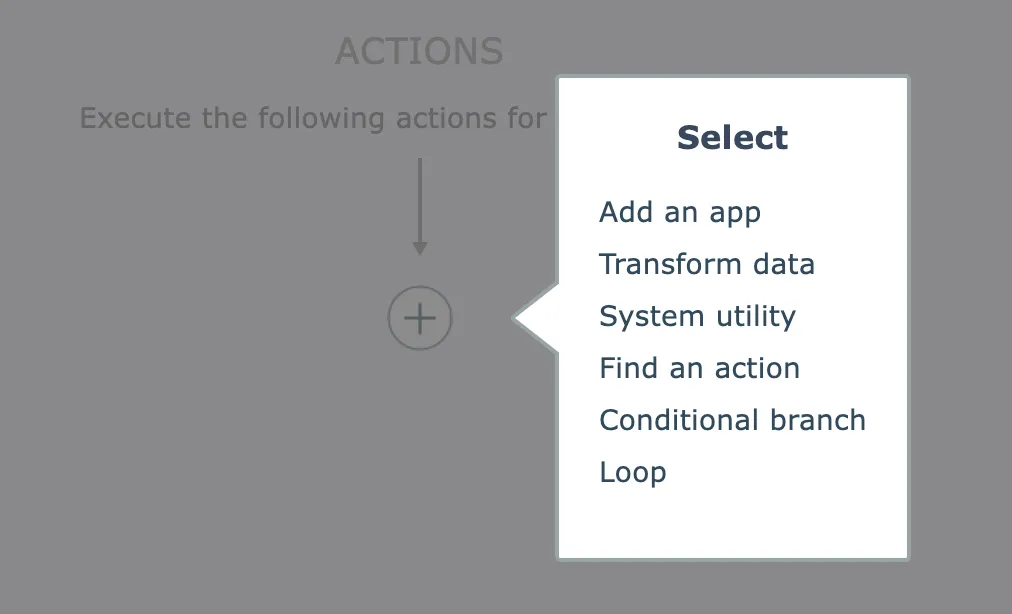
Add an app: select this if you know which app you want to use
Transform data: lists various types of data transformations for converting data from one format to another
System utility: lists built-in system utility actions
Find an action: find actions by their names or descriptions. For example, if you want to add a contact to a CRM system, you can search for "add contact" and view all implemented apps and actions related to adding contacts.
Conditional branch: see Conditional branches
Loop: see Array Iterators
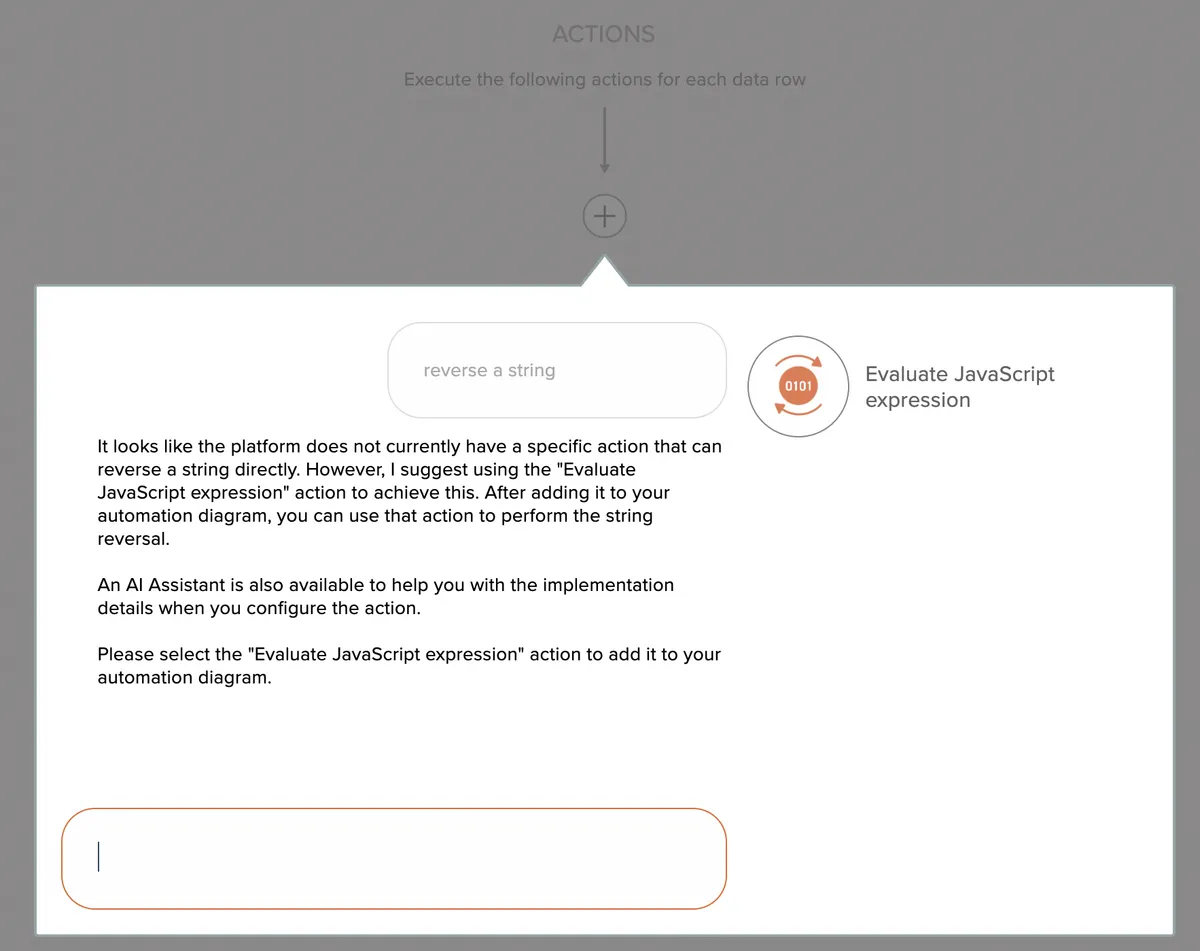
If your system is configured to do so, an AI assistant will be available to assist you with selecting an action:
You can describe the functionality you need and the AI Assistant will respond with any matching actions in the system you can add to the automation:
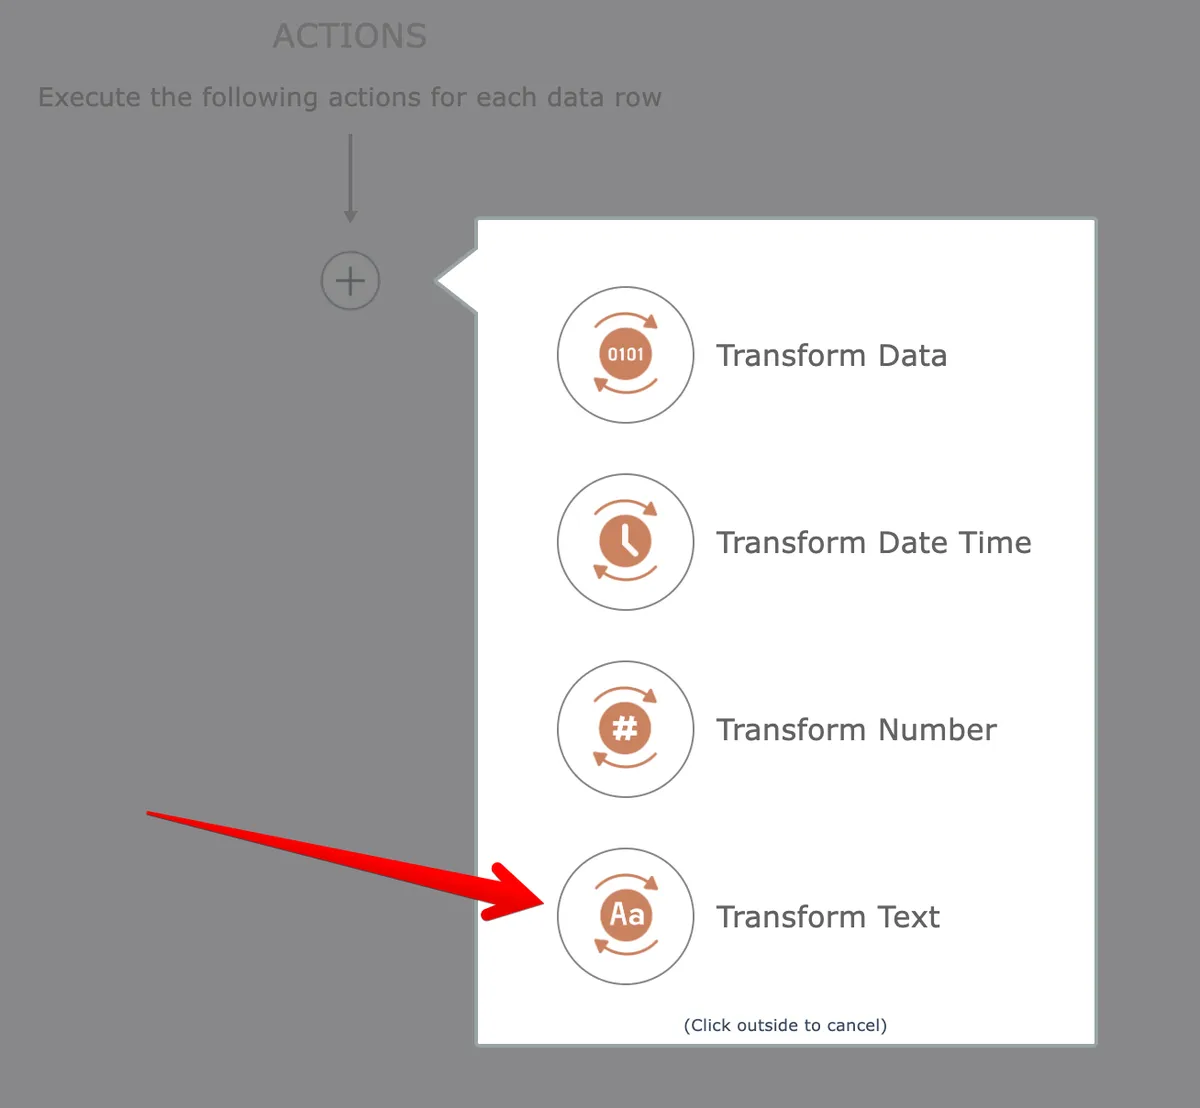
Select the "transform data" option and choose the Transform Text app:
Then scroll down the list and choose the "uppercase" action:

The Transform Text app requires no account connection. If the selected app did require a connection, the system would walk you through connecting an account to the app.
The system shows a dialog with settings and field mappings that can be configured for the action. We will build this automation to capitalize the article titles and descriptions. Enter "Title: " followed by a space into the "value" field, then open the trigger fields via its caret icon:
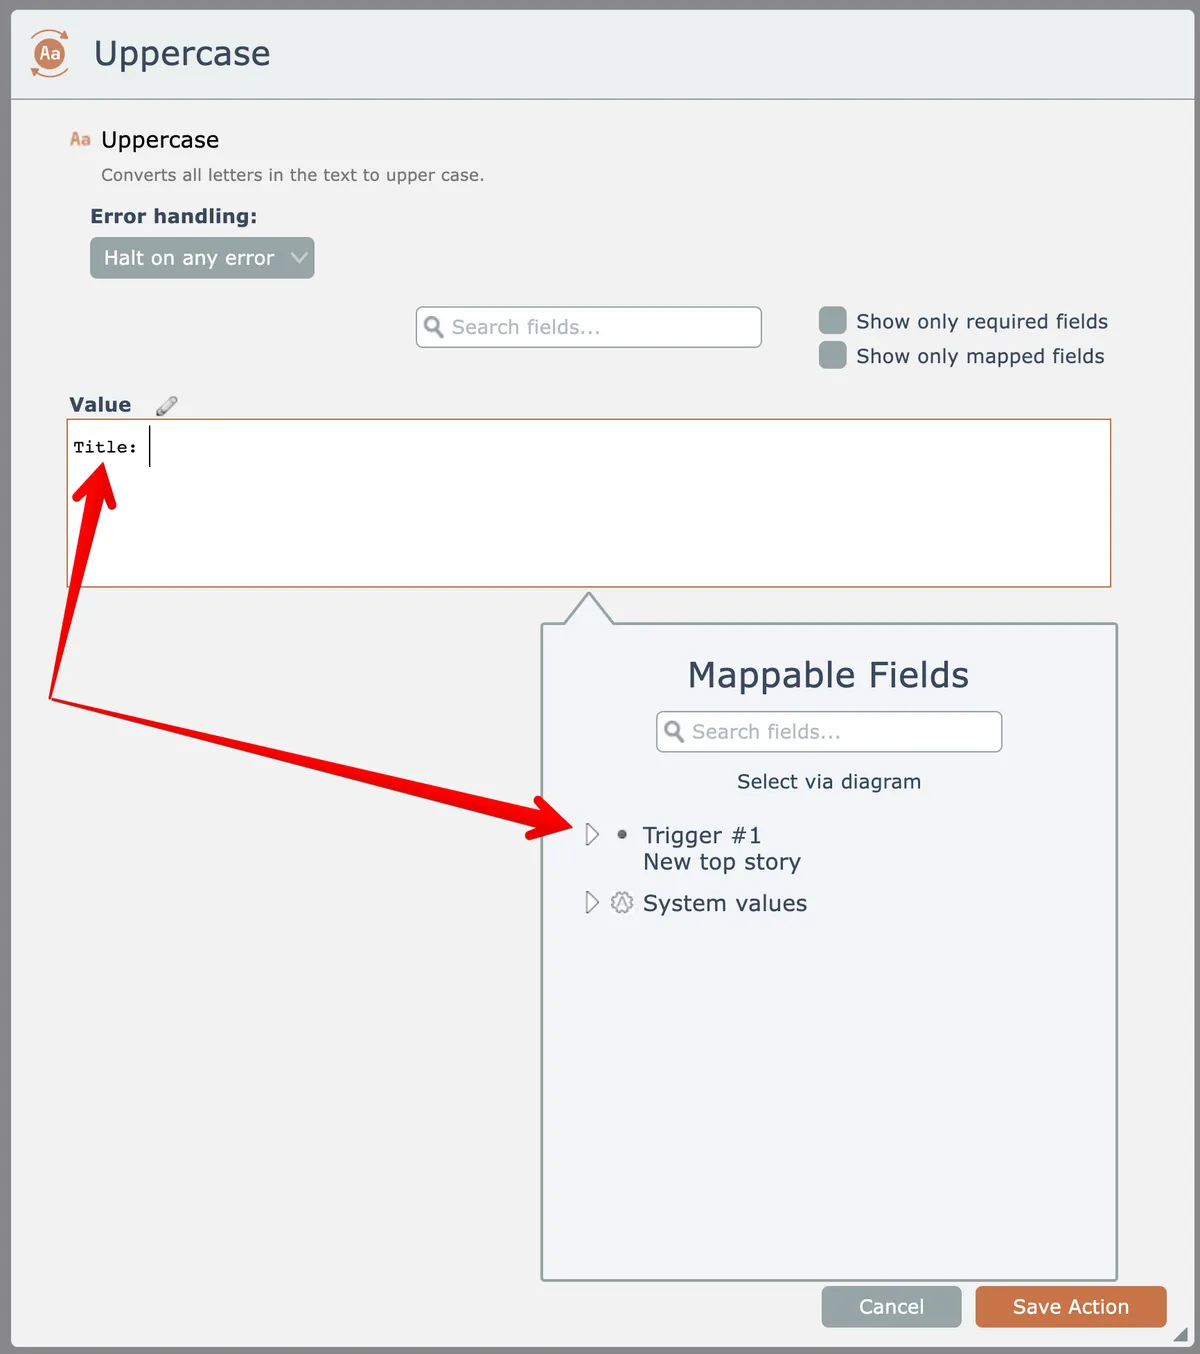
Then click on "article title" in the list of trigger fields to add that field to the "value" mapping:
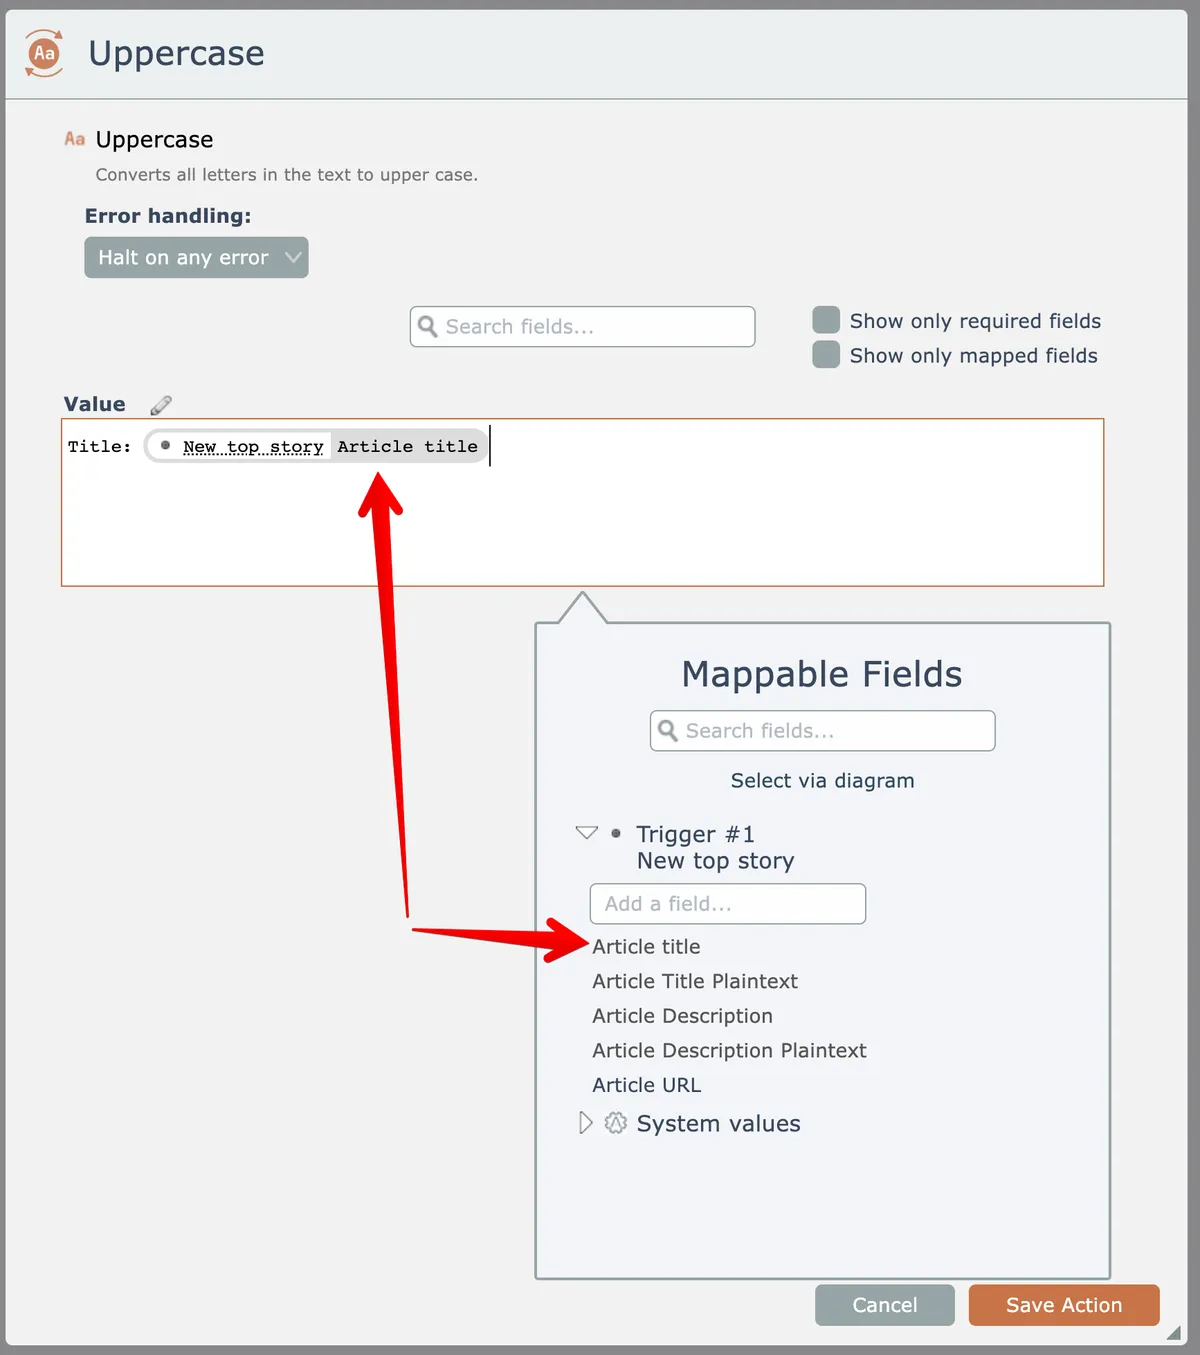
The article title field is now mapped into the value field. When the automation runs, article titles will be inserted into the value field at that position in its text.
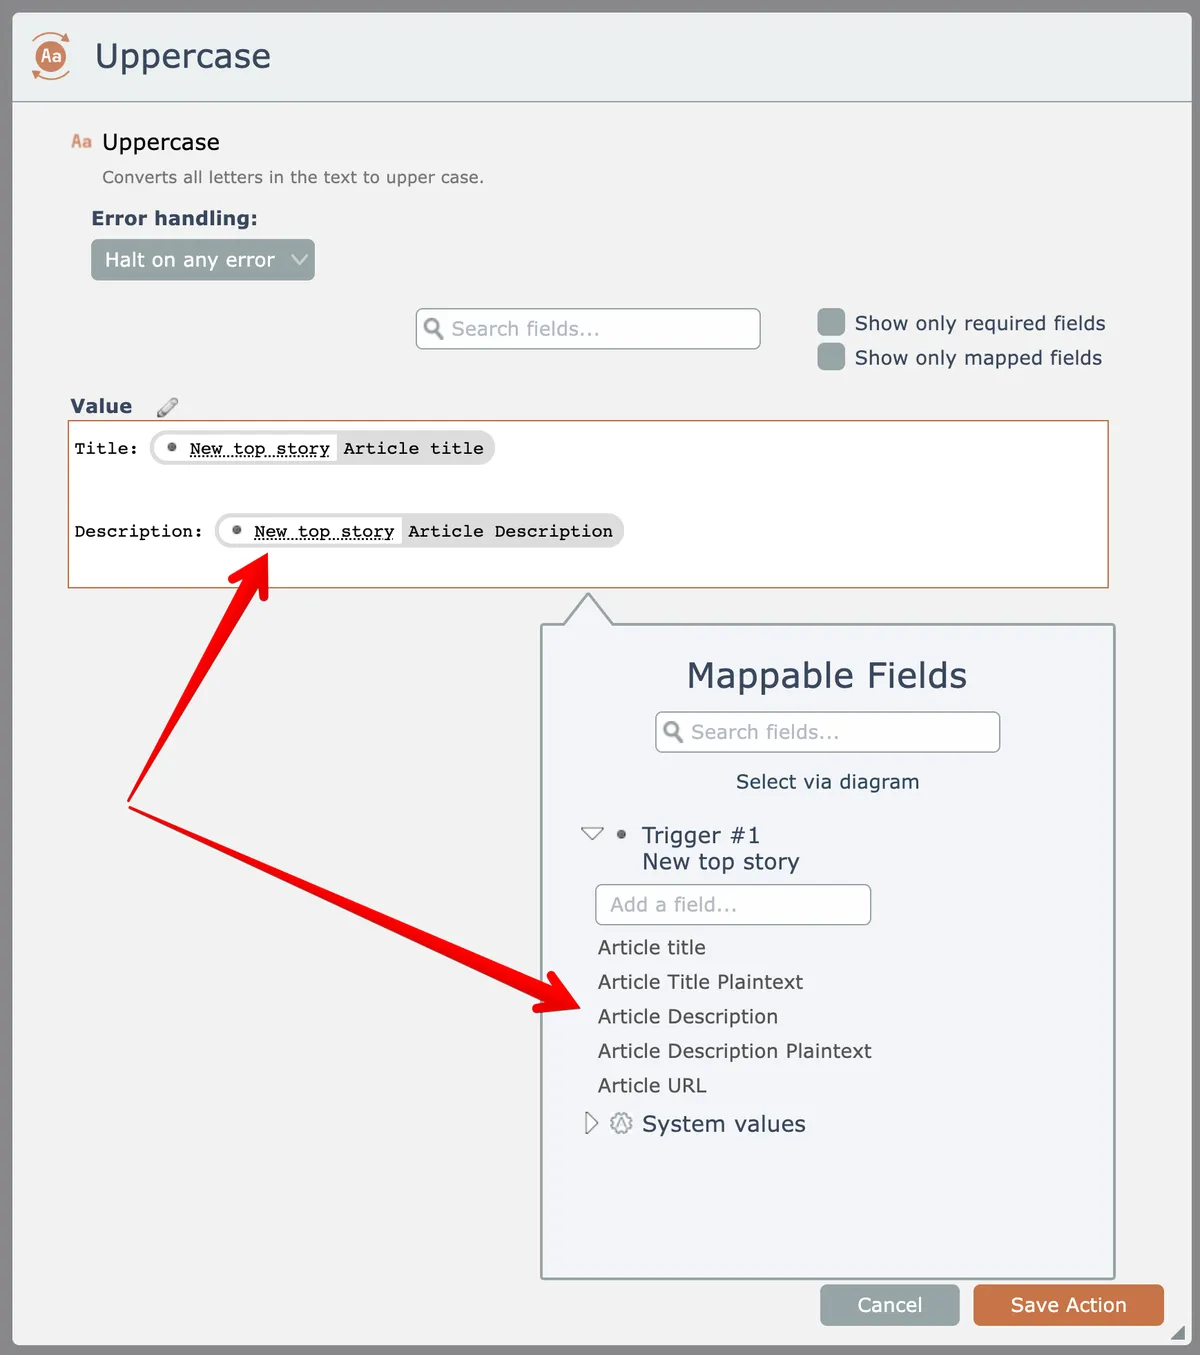
Add a new line and repeat for the article description:
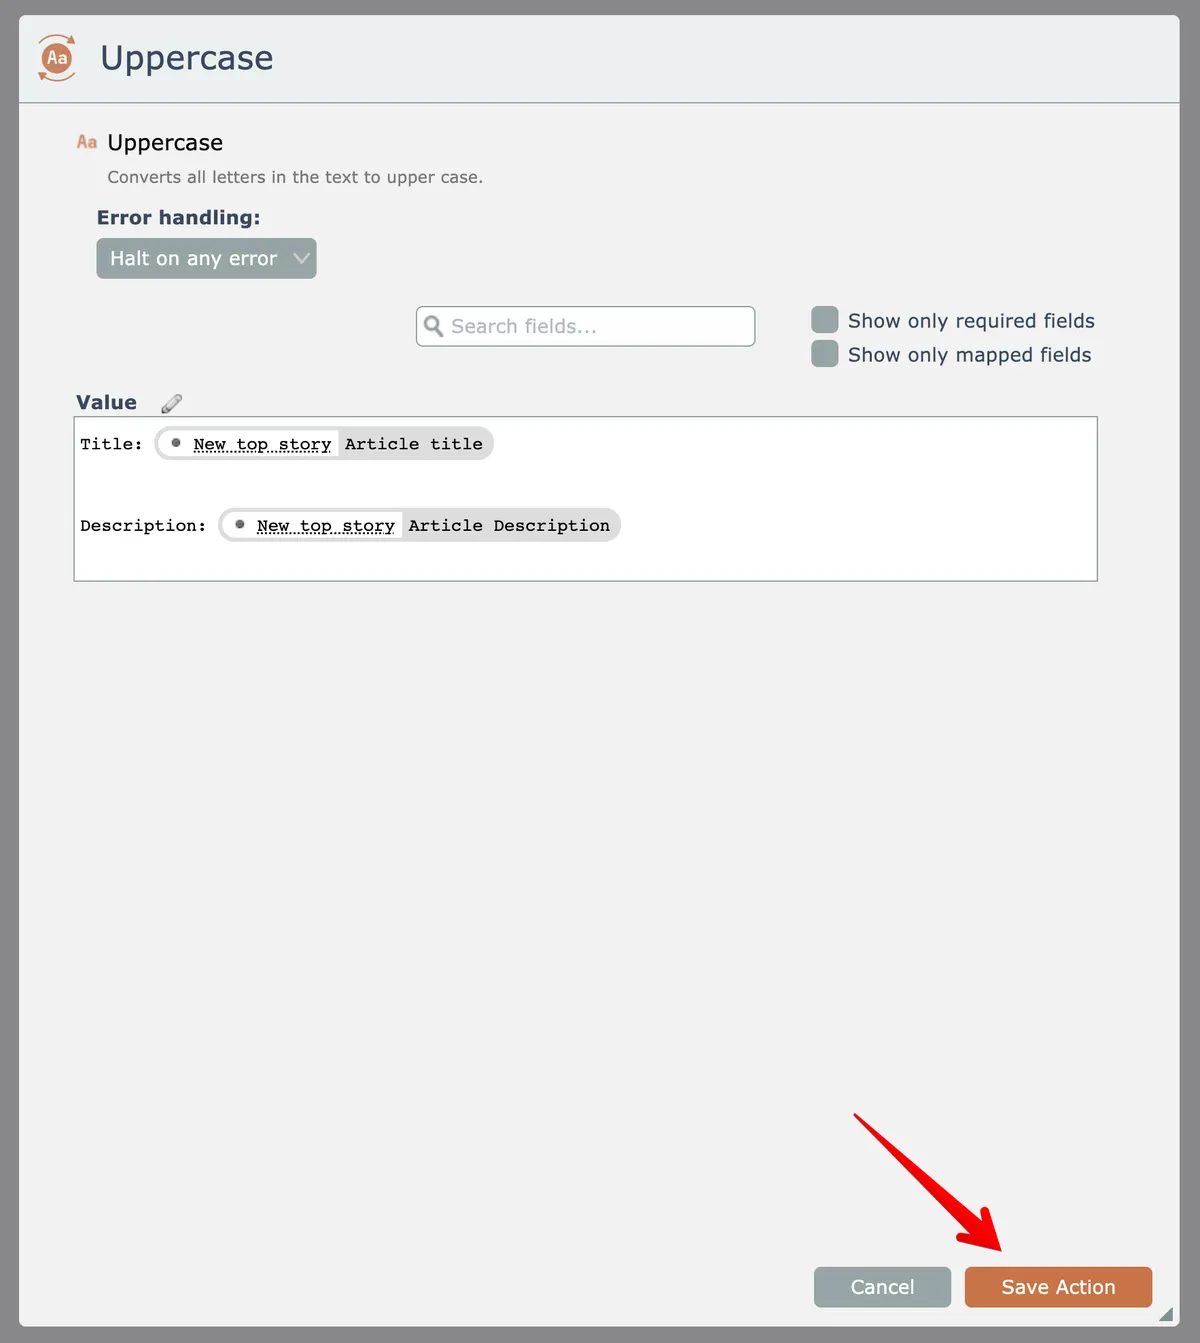
Now the action is configured as we want for the test, so click the button to save it:
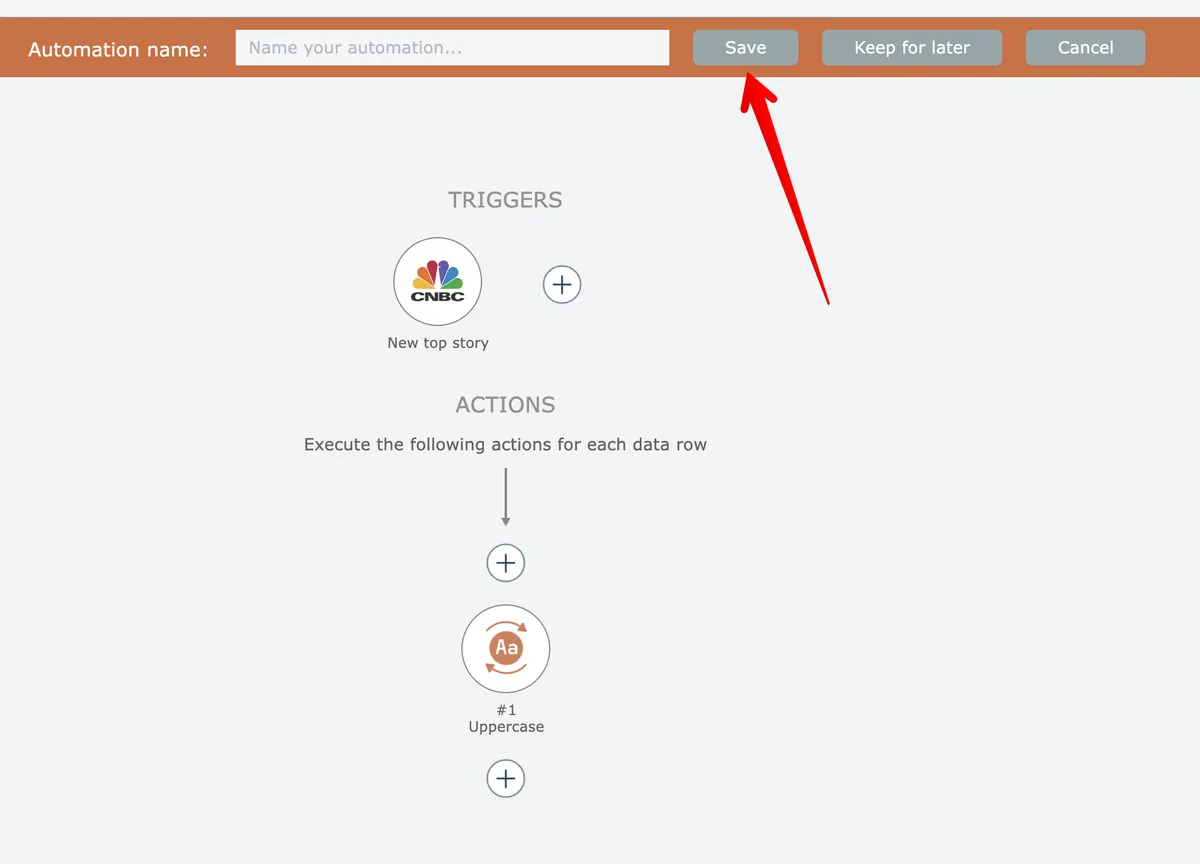
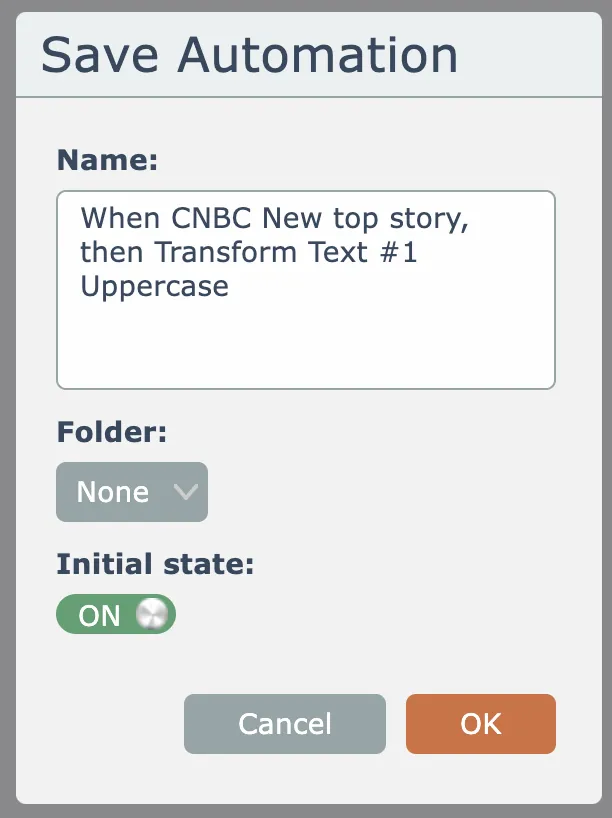
Click the Save button at the top of the screen to save the test automation. Since its name field is empty at the top, the system will auto-generate a name for you:
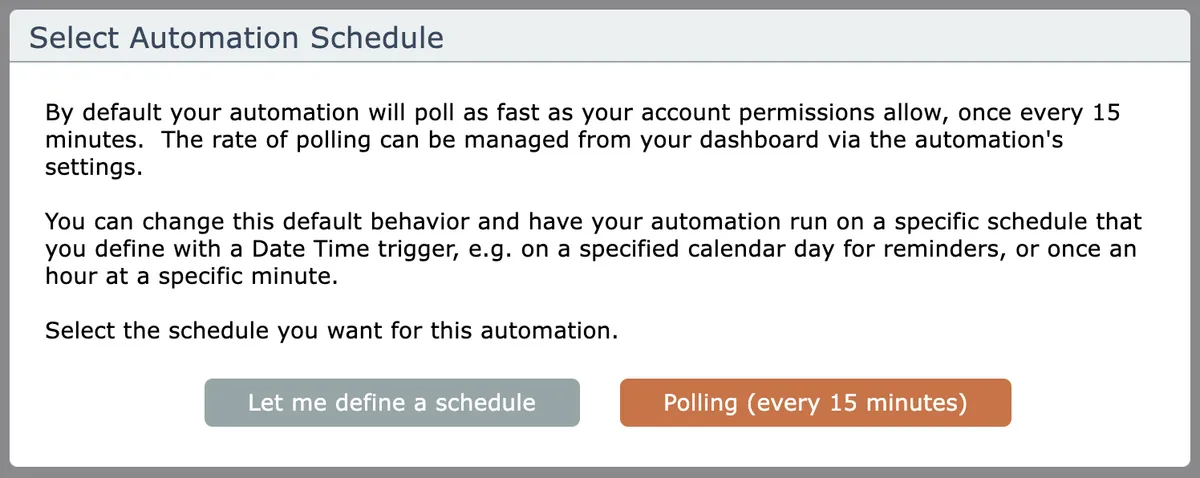
Click the Polling button so the system will run the automation at the default polling cycle of every 15 minutes:
Finally, save the automation by clicking OK:
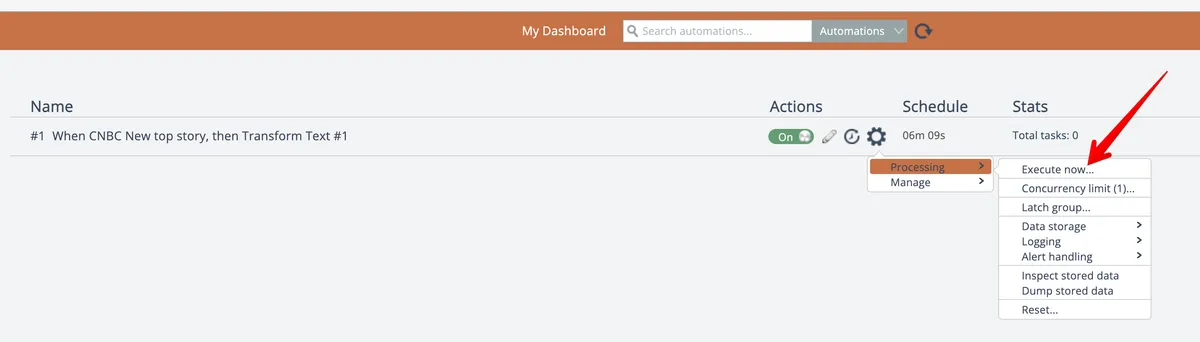
Let's do a quick test and run the automation manually in test mode. From the automation's gear menu in the dashboard, choose to execute it:
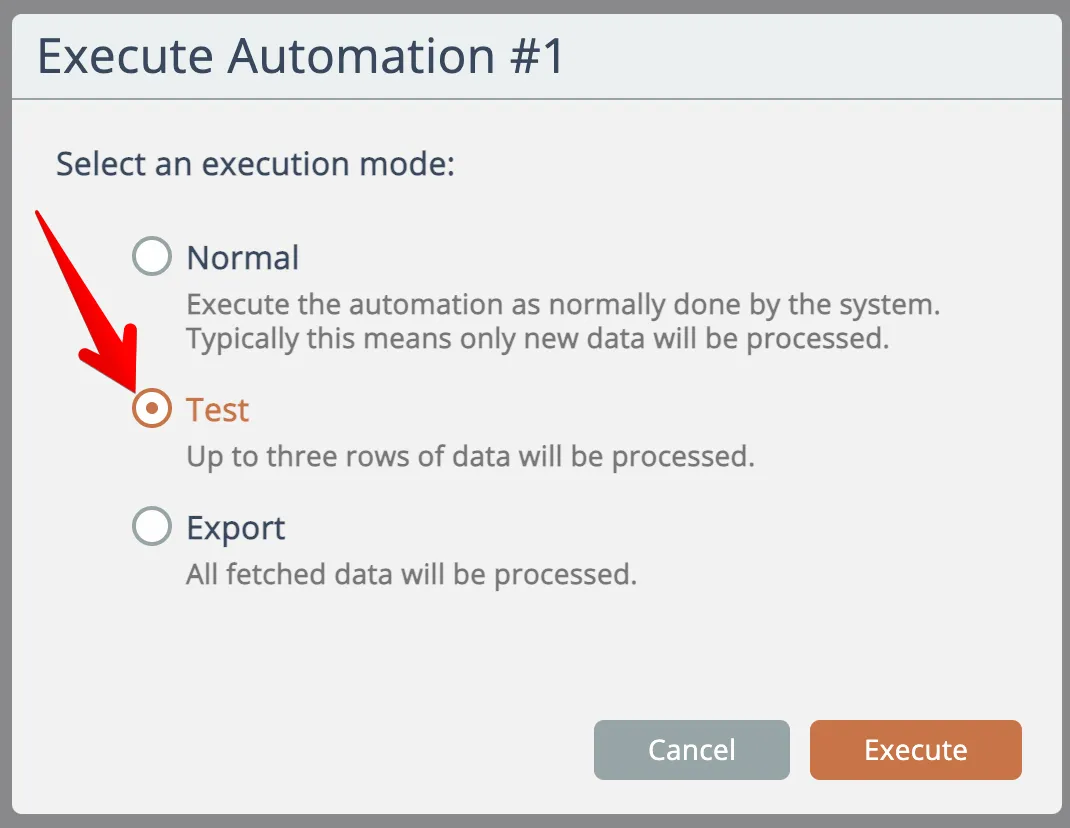
Then select test mode and click the Execute button:
The automation will execute. When complete, it should show 3 successes. Click the tile to drill down:
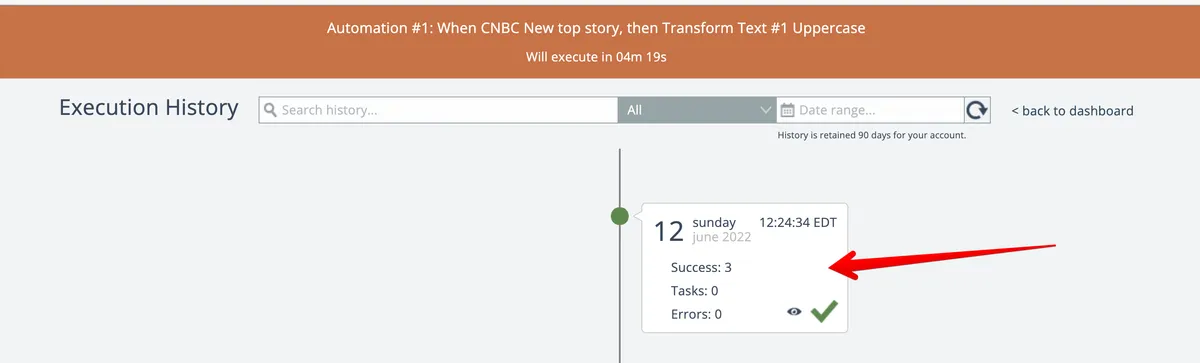
Then click a data row to drill down again:
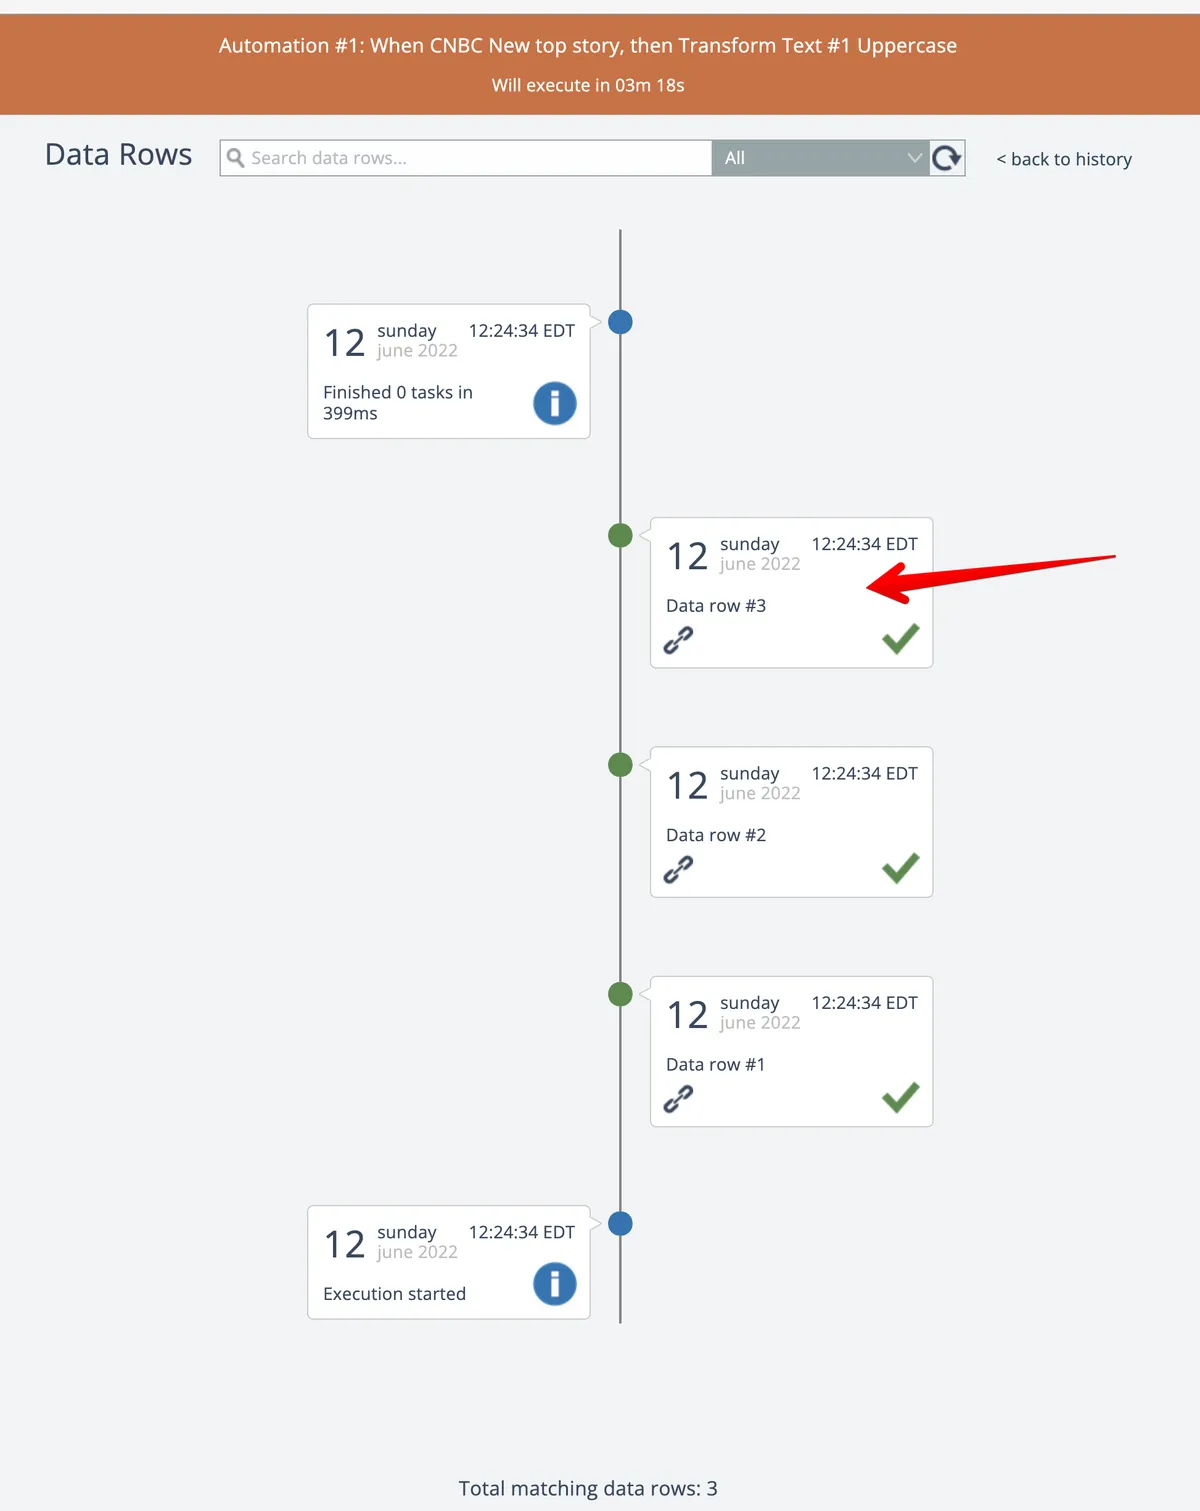
Now mouse over the uppercase action and see that your automation uppercased the title and description text from the CNBC article:
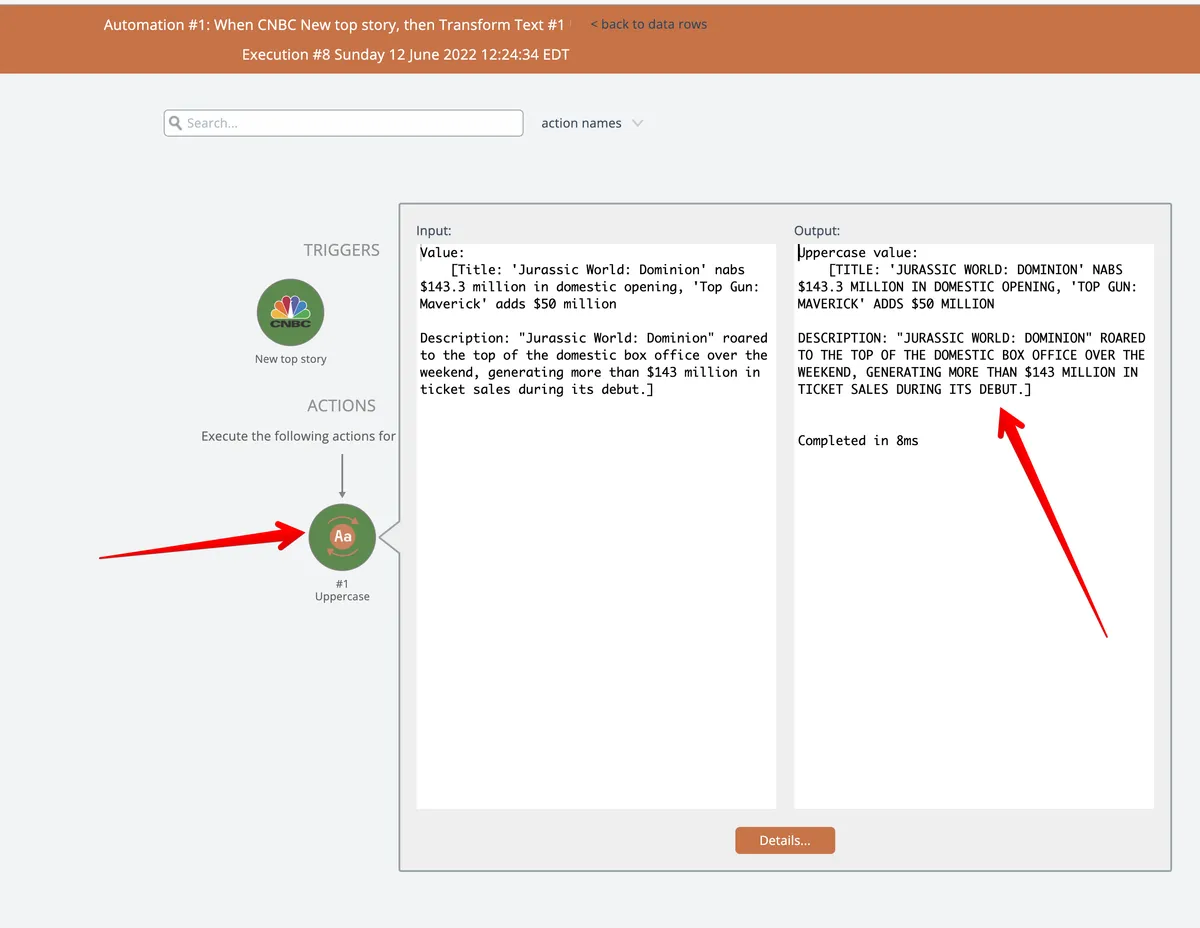
Congratulations, you just built your first automation!